
fully custom packaging design
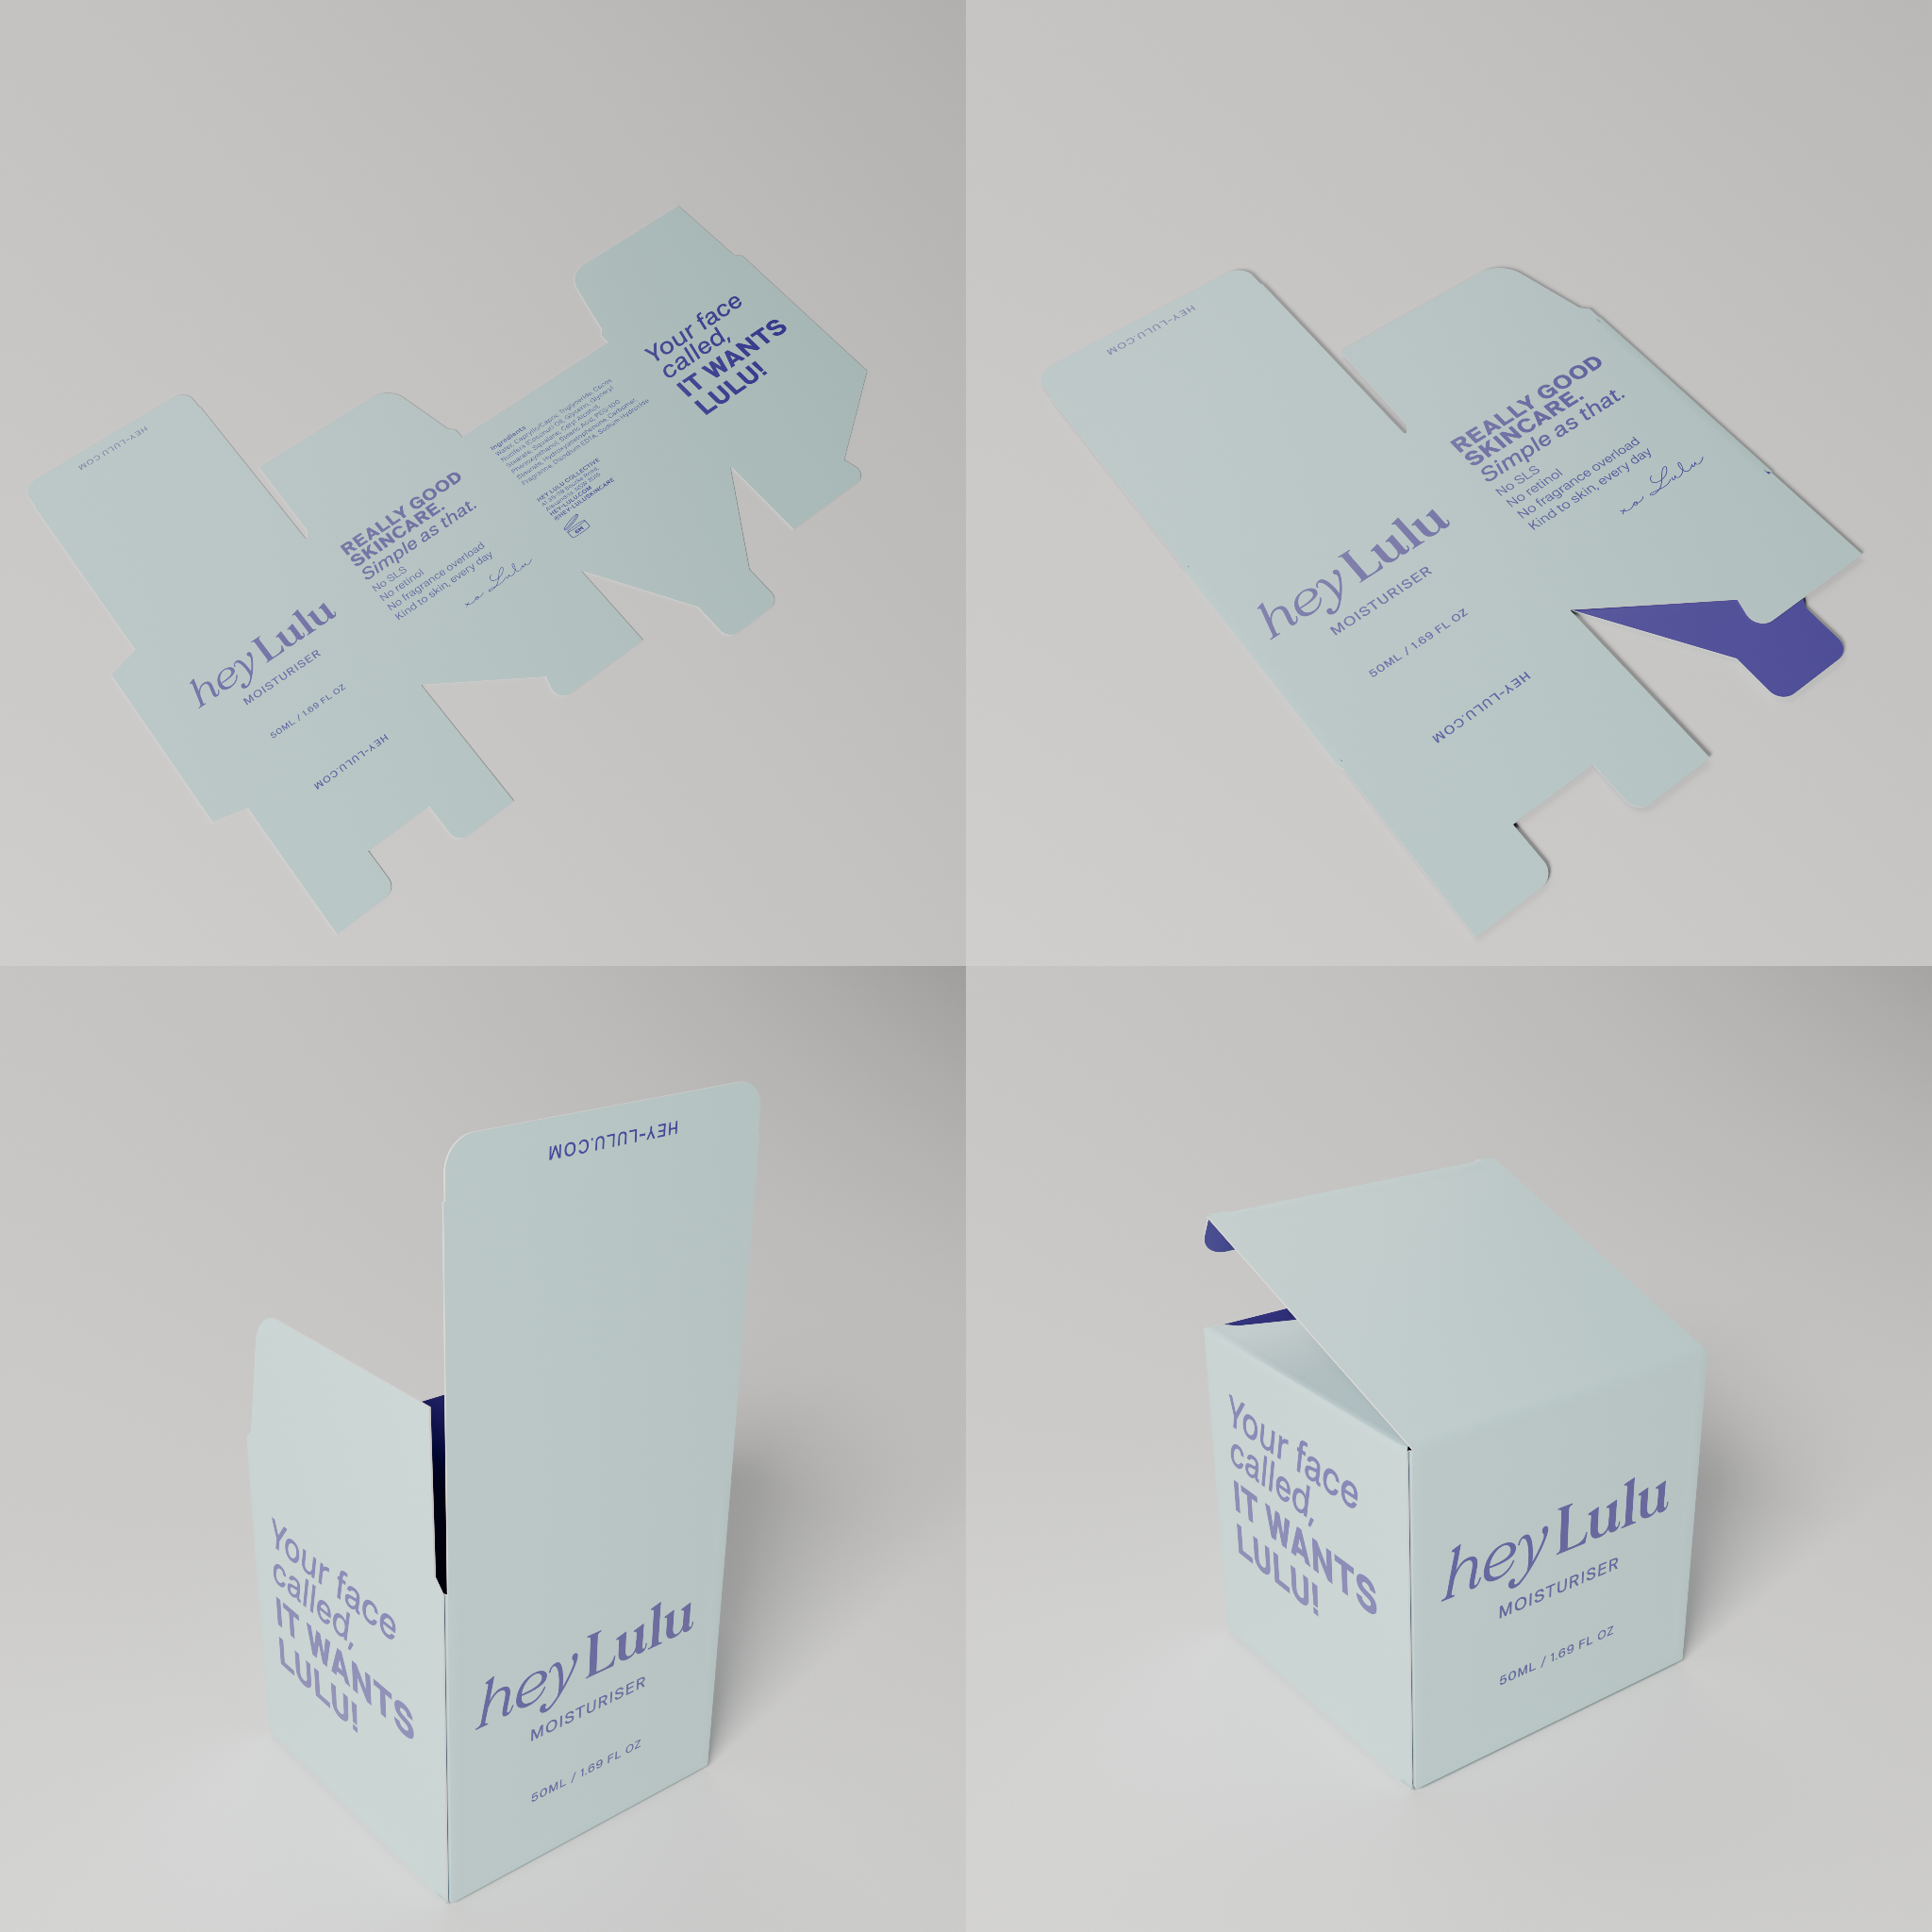
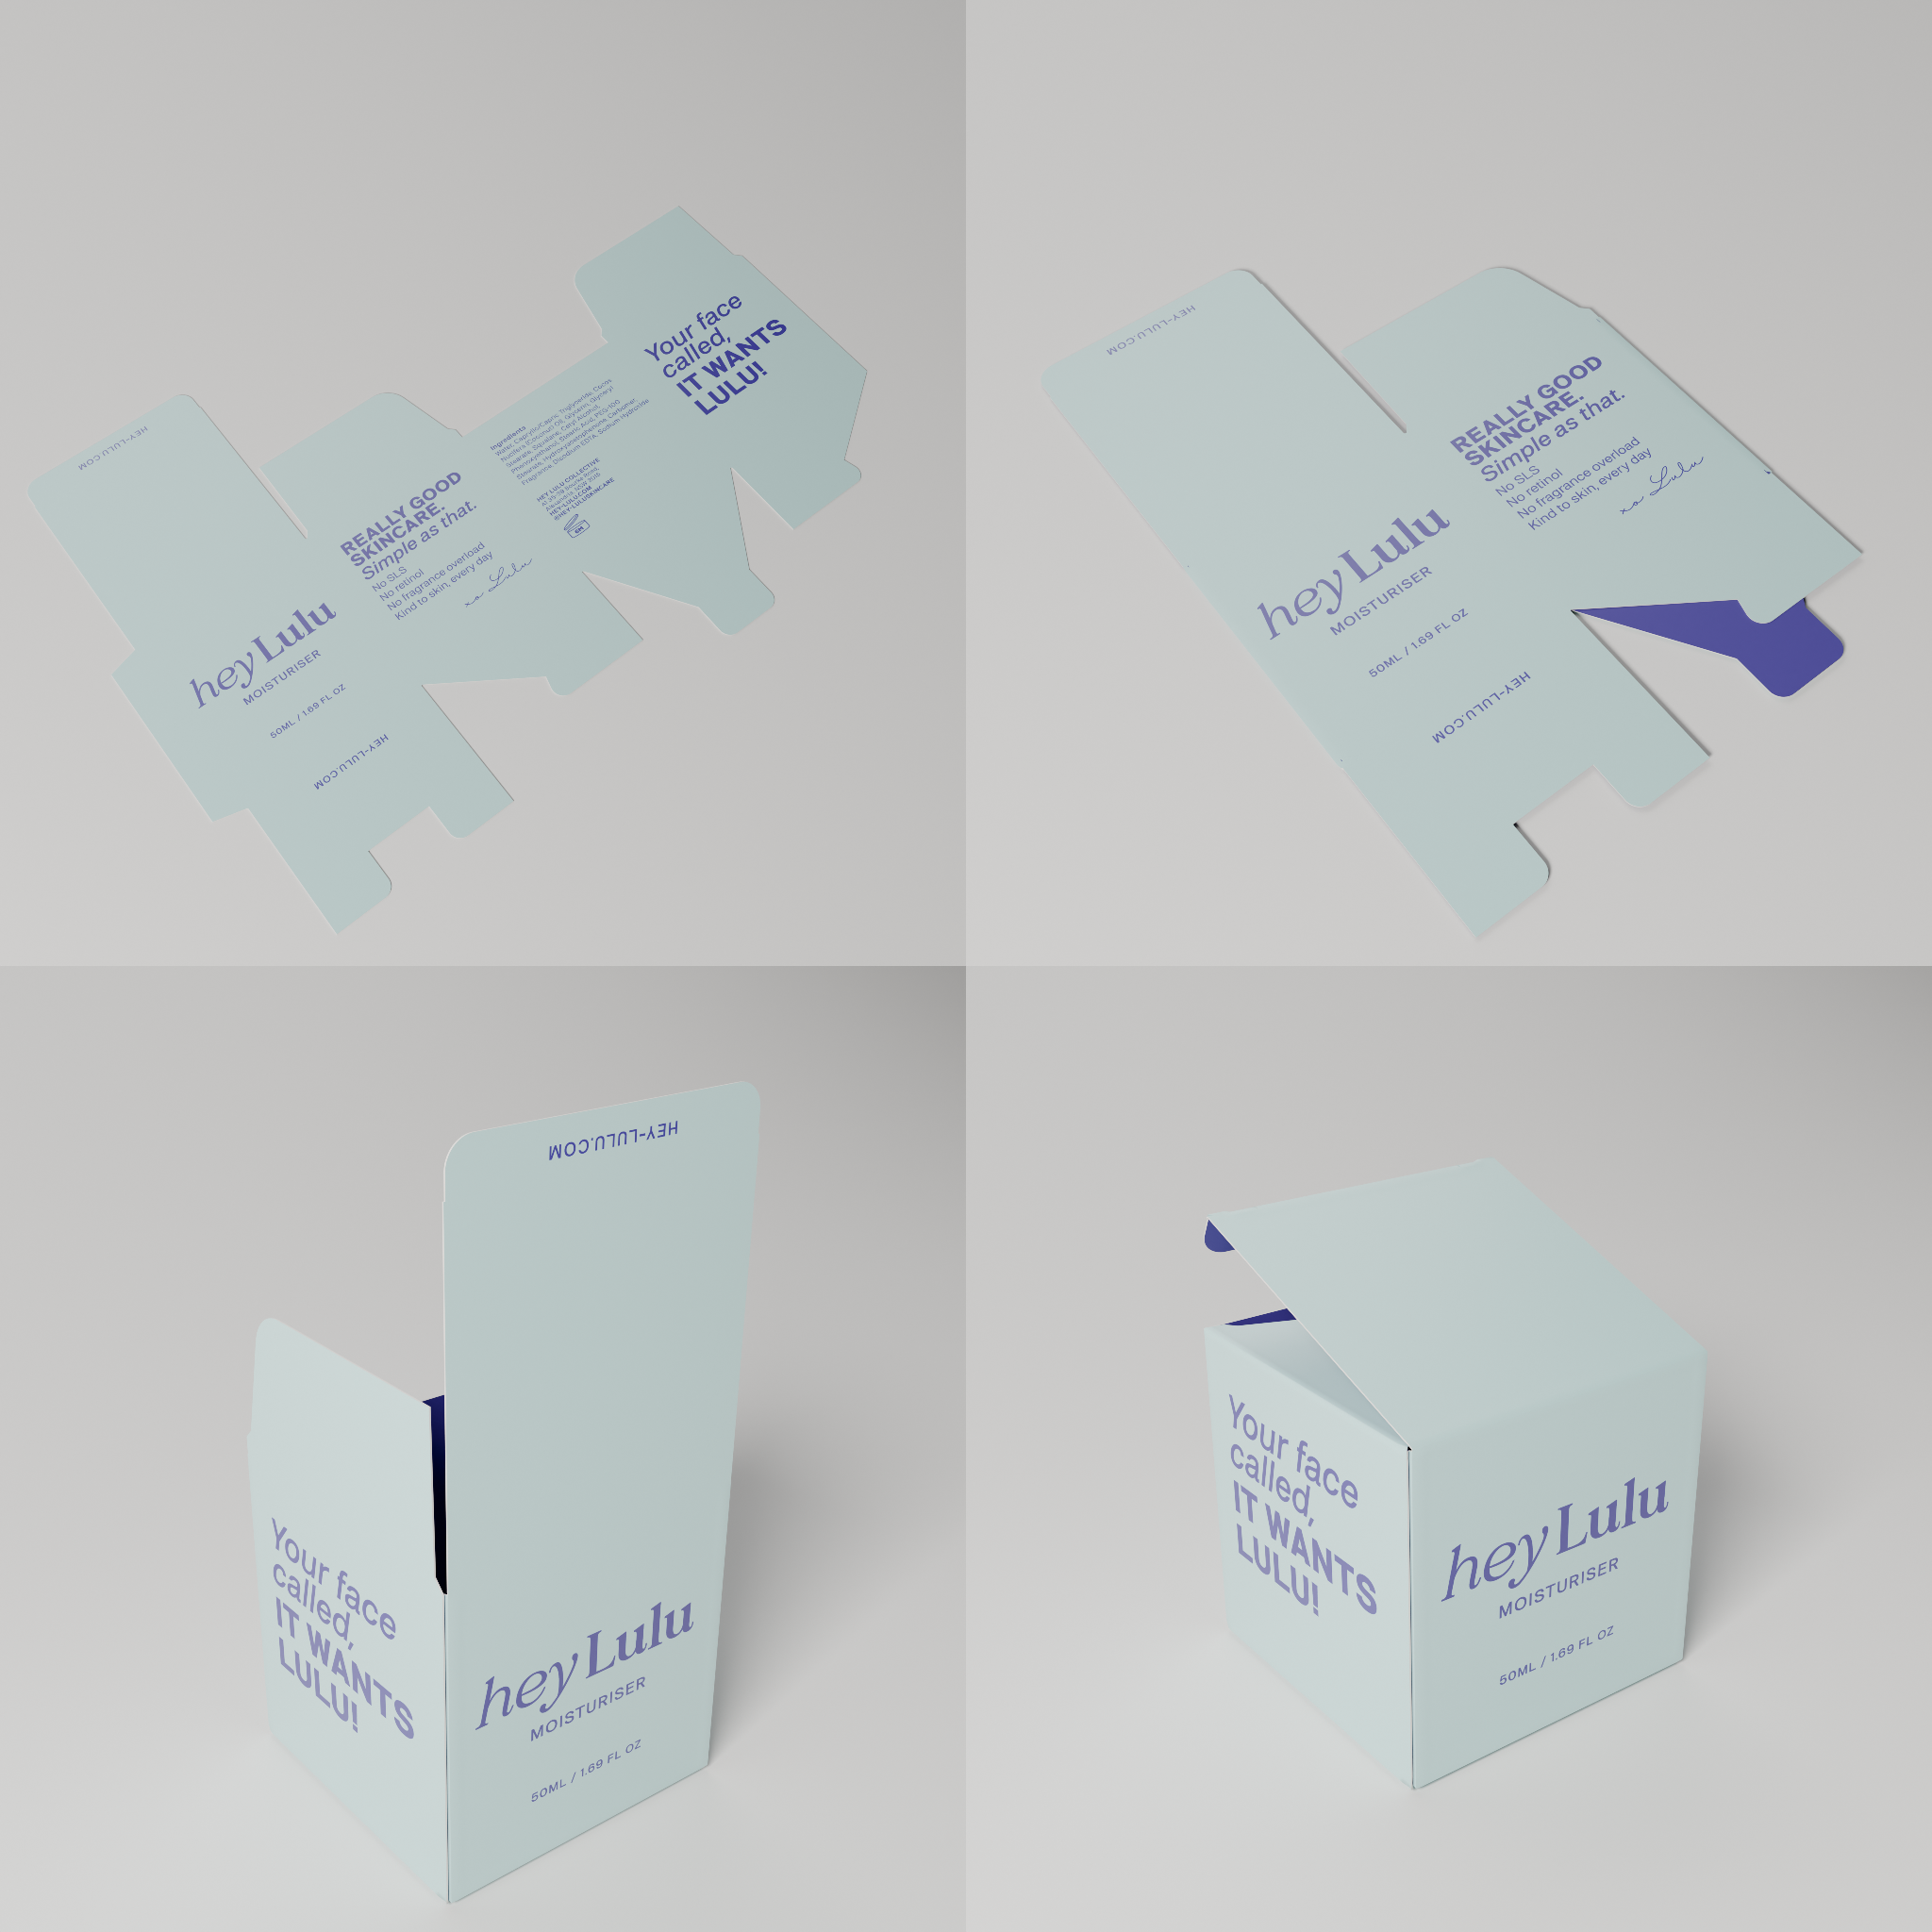
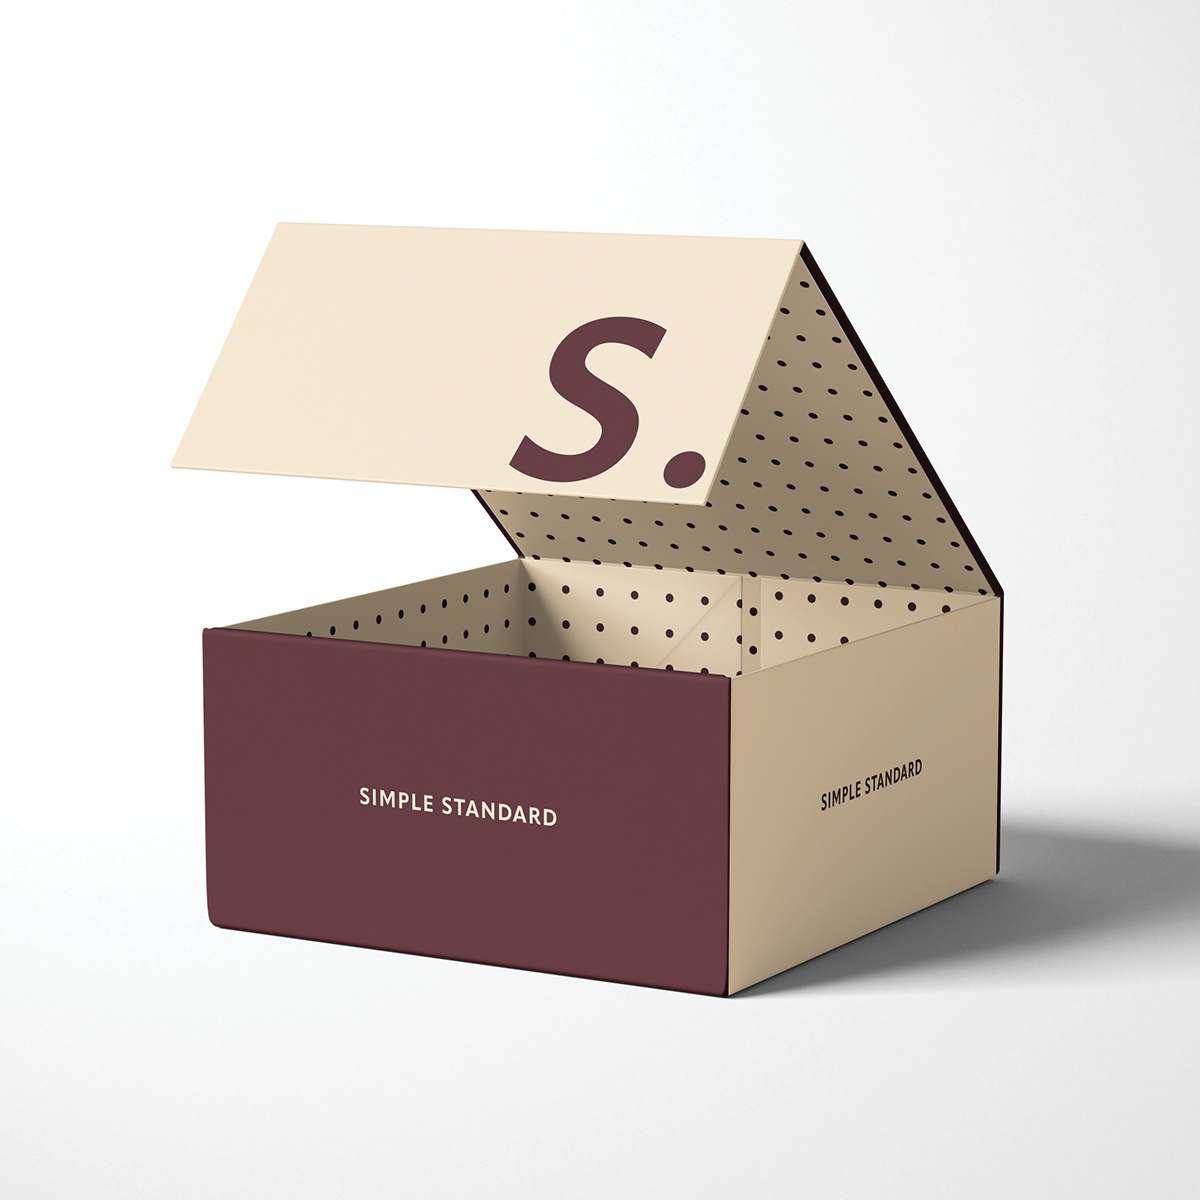
Tuck-Top + Semi-Autolock Box
Not every brand needs a fully automatic base, and this box is built for the ones that don't. One fold locks the base flat, no glue or tape, at a lower cost than full autolock. Custom inserts and real design support carry you from first sketch through to approval, and every box is made to spec, not close to it.
build your quote
Design your Tuck-Top + Semi-Autolock Box
Build your custom printed Tuck-Top + Semi-Autolock Box in a few quick steps and we'll come back to you with a quote - no price guesswork, just the spec you want.
What's next?
Quote the rest of your packaging...
Get everything you need with more products below. If what you need isn't here, send us a brief and we'll source it.









How does the process work?
Designing your own custom tuck-end boxes doesn’t have to be complicated. Choose all the options you require and we'll come back with an exact quote. No guesswork, just the box you need.
Step 1
Build your quote
Use the builder above to choose your size and specs. You can create more than one quote if you want to compare options. Add your contact details and postcode and we'll work out your shipping costs.
Step 2
Get your dielines
You'll receive an email confirmation straight away, along with your dieline. Use it to start your artwork whenever you're ready.
step 3
Receive your exact quote
Our team reviews your specs and comes back with an exact quote within two working days.
STEP 4
Accept and send your artwork
Accept your quote and send through your artwork. We'll take it from there. Our team is here to help with design and dieline support if you need it.
Step 5
Review your artwork & approve it
Review your final digital proof and give us the green light to start production. You can also order a material sample to ensure the quality meets your expectations.
Step 6
Production starts
Our trusted production partners will bring your design to life, applying it to your chosen packaging with precision and care. Once printed, your packaging will be carefully packed and prepared for shipping.
Step 7
Packaging ships
Your completed packaging will be loaded into our shipping container and dispatched. If you need your order quickly, ask us about airfreight.
Step 8
Delivery to your chosen address
Once your packaging arrives at our Melbourne warehouse, we'll swiftly unload and deliver it to your business address.
PACKAGING GLOSSARY
Every option, explained
Paper weights, print methods and finishes can start to blur together. Here's what each one means, so you always know exactly what you're choosing for your tuck-end box.
paper & board
Paper weight
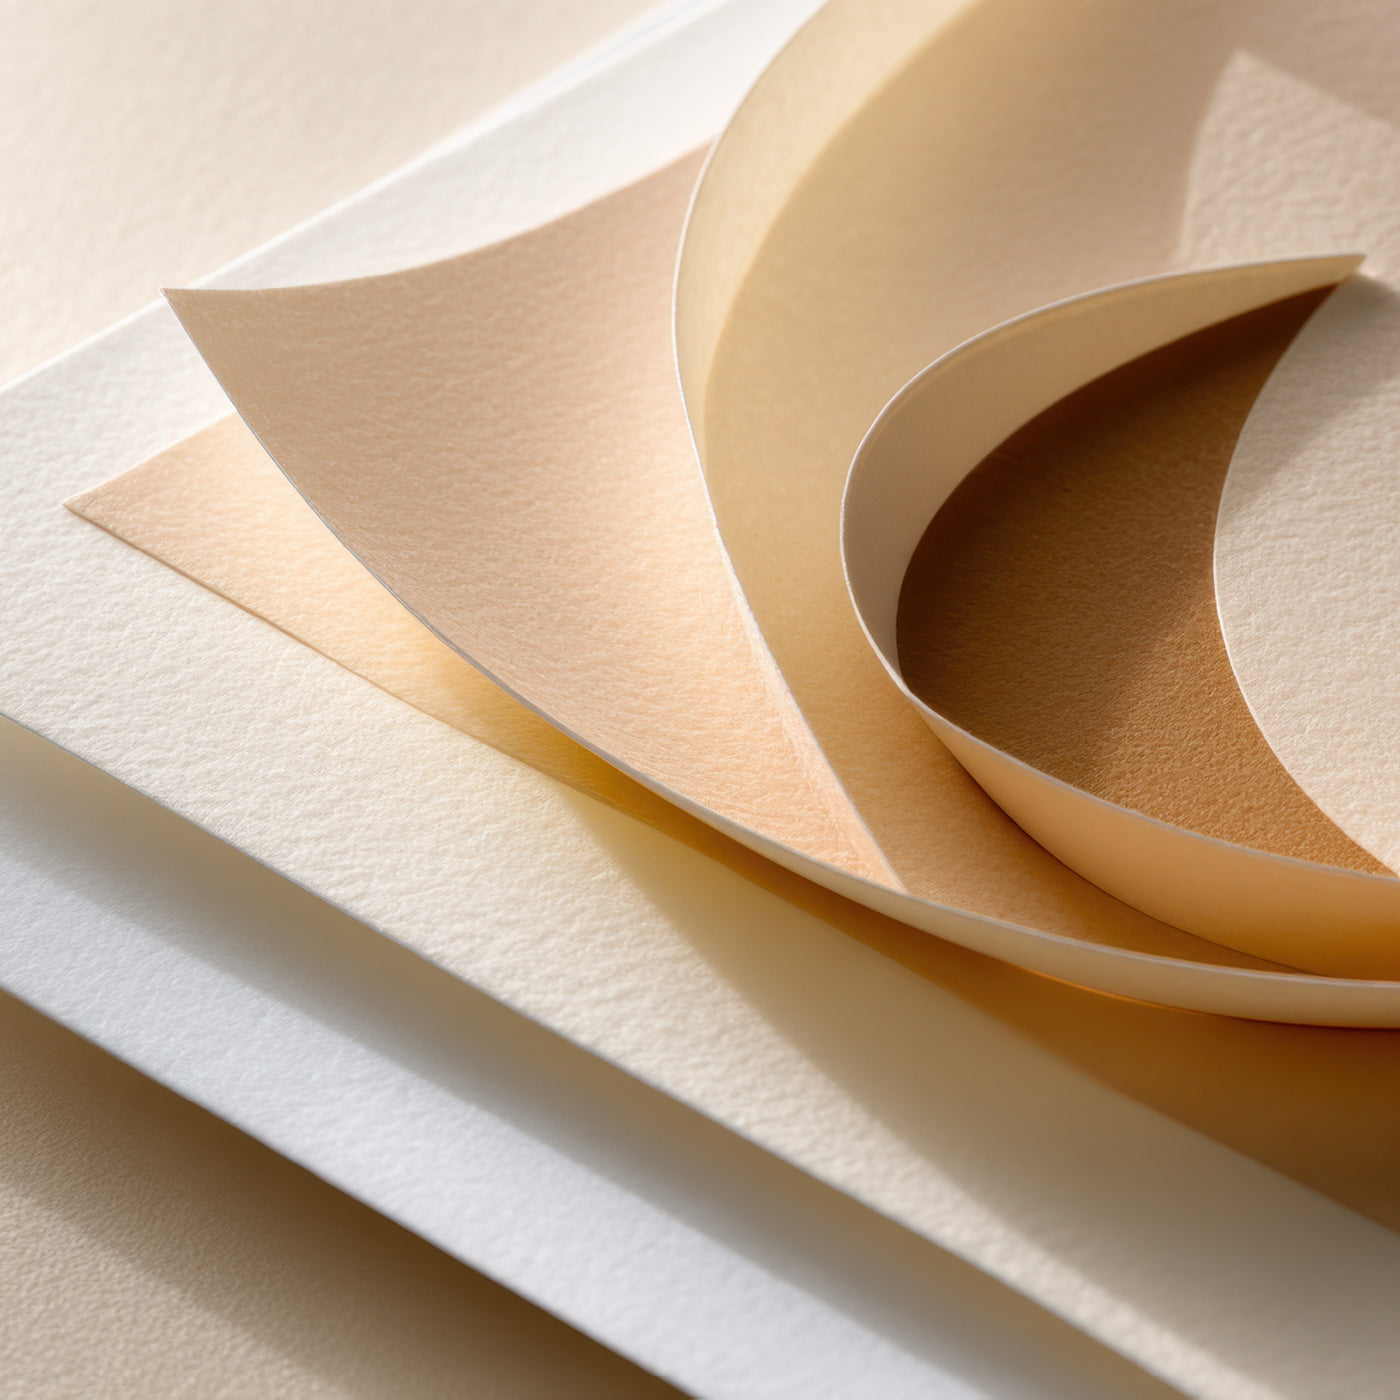
Four weights, measured in gsm (grams per square metre). 300 gsm is light and economical for small, lightweight products. 350 gsm is our most popular all-rounder, sturdy enough for most retail boxes without feeling bulky. 400 and 450 gsm step up the rigidity and premium hand-feel for heavier products, and hold embossing and foil well.
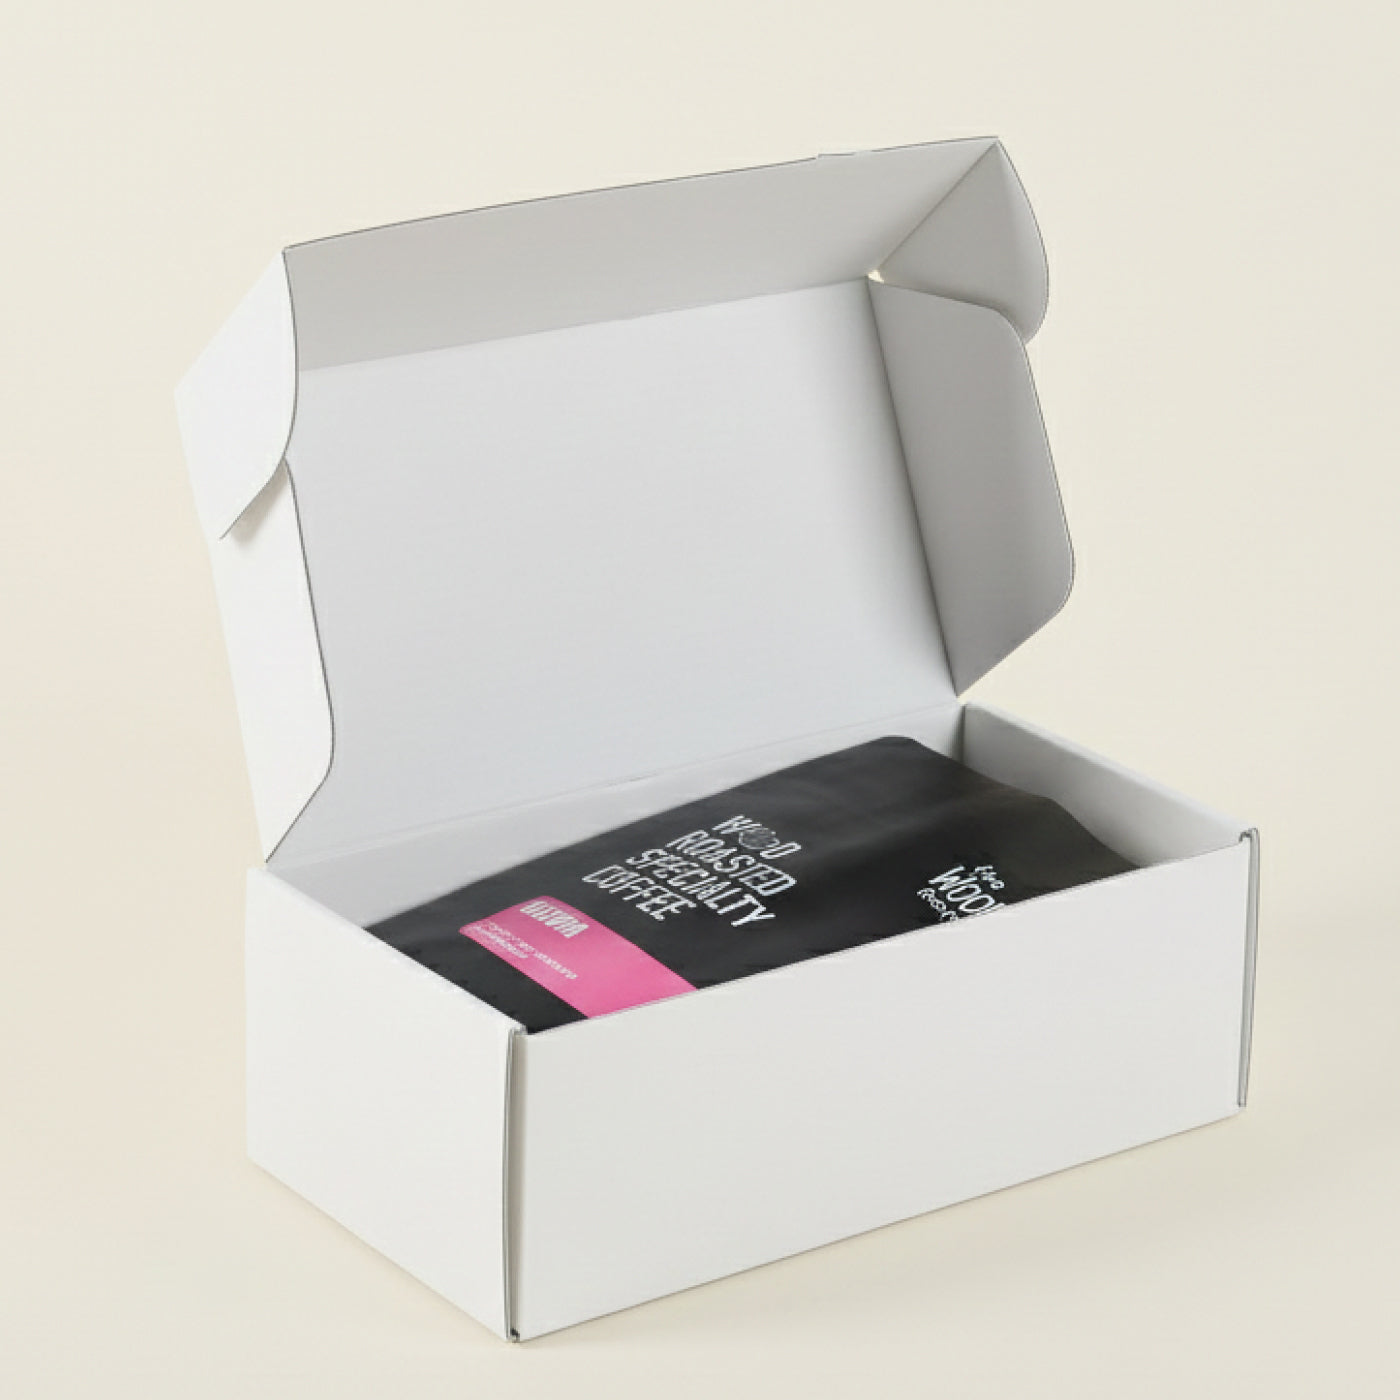
White
A smooth white card that takes full-colour CMYK printing and a matte or gloss laminate. The choice when your artwork needs accurate colour, photography or a polished, coated surface.
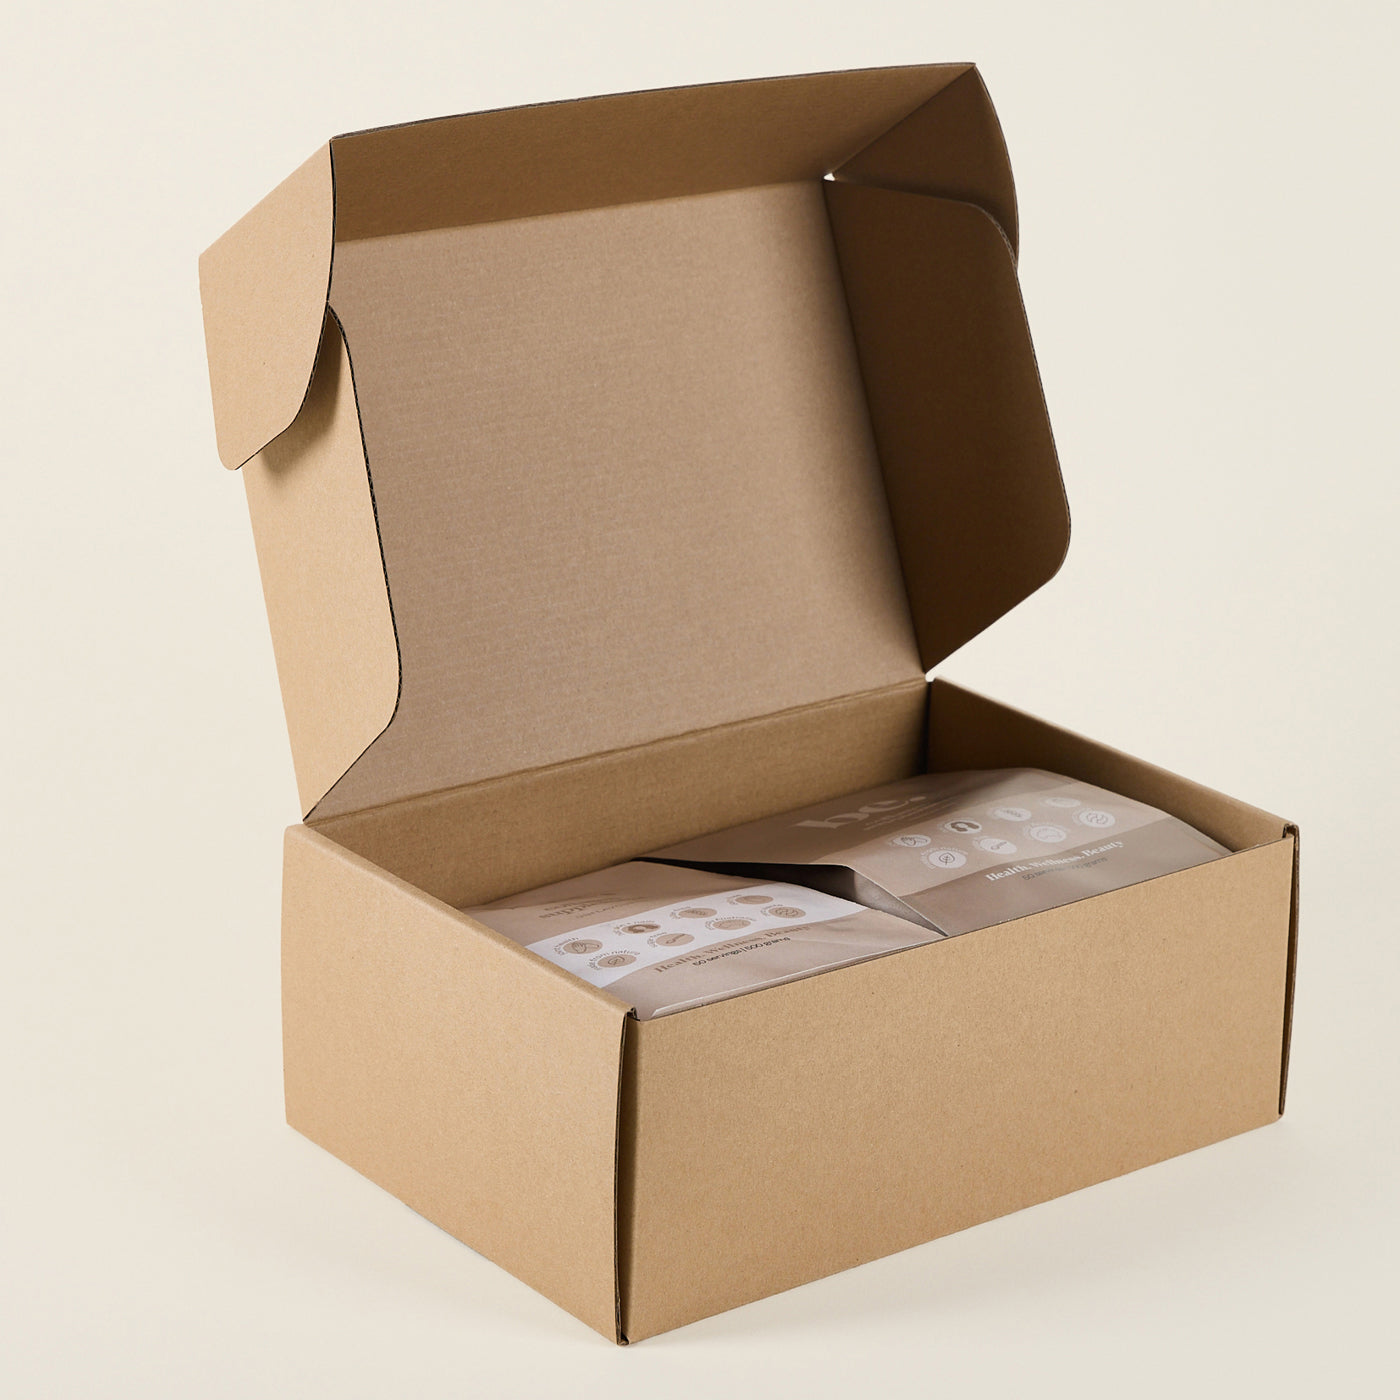
Natural Kraft
Uncoated brown board with a natural, tactile feel. Supplied without lamination you can pair it with screen print or CMYK + White so the ink stands out on the kraft.
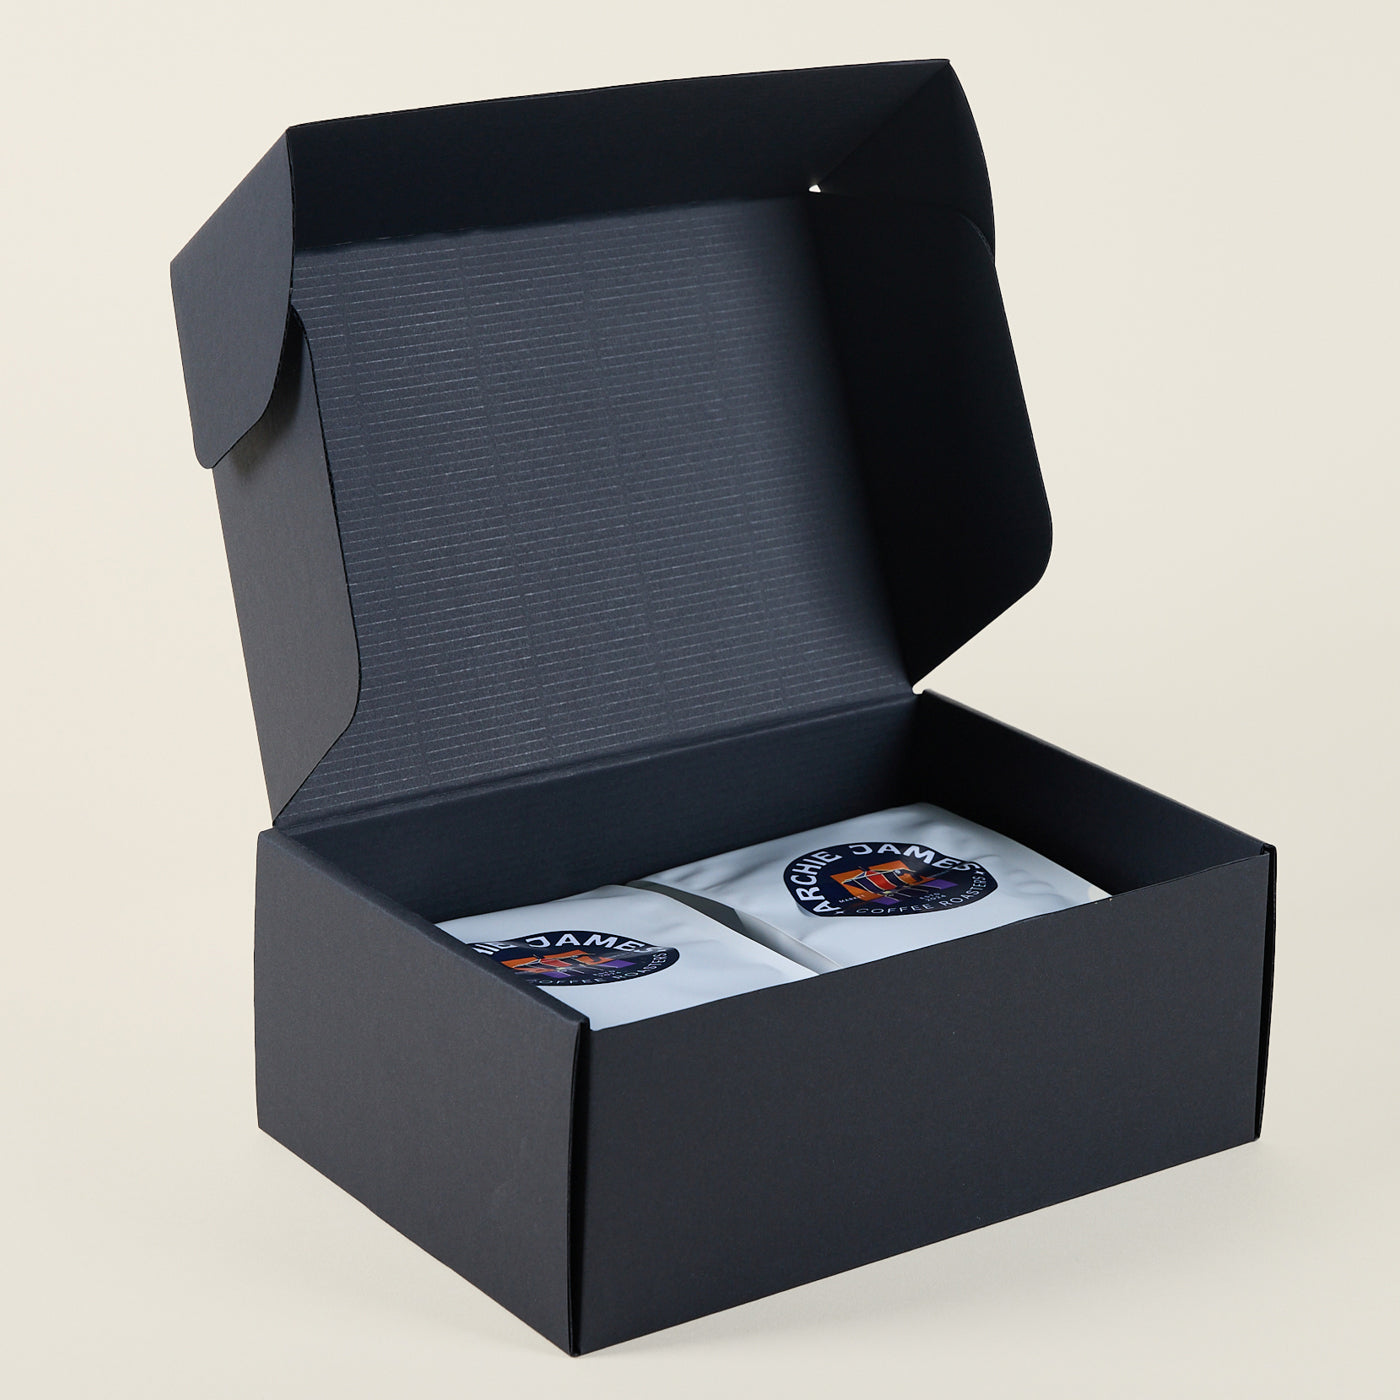
Black Kraft
The same uncoated kraft board in black. A bold, premium base for white or metallic screen printing as well as foils.
printing on white paper
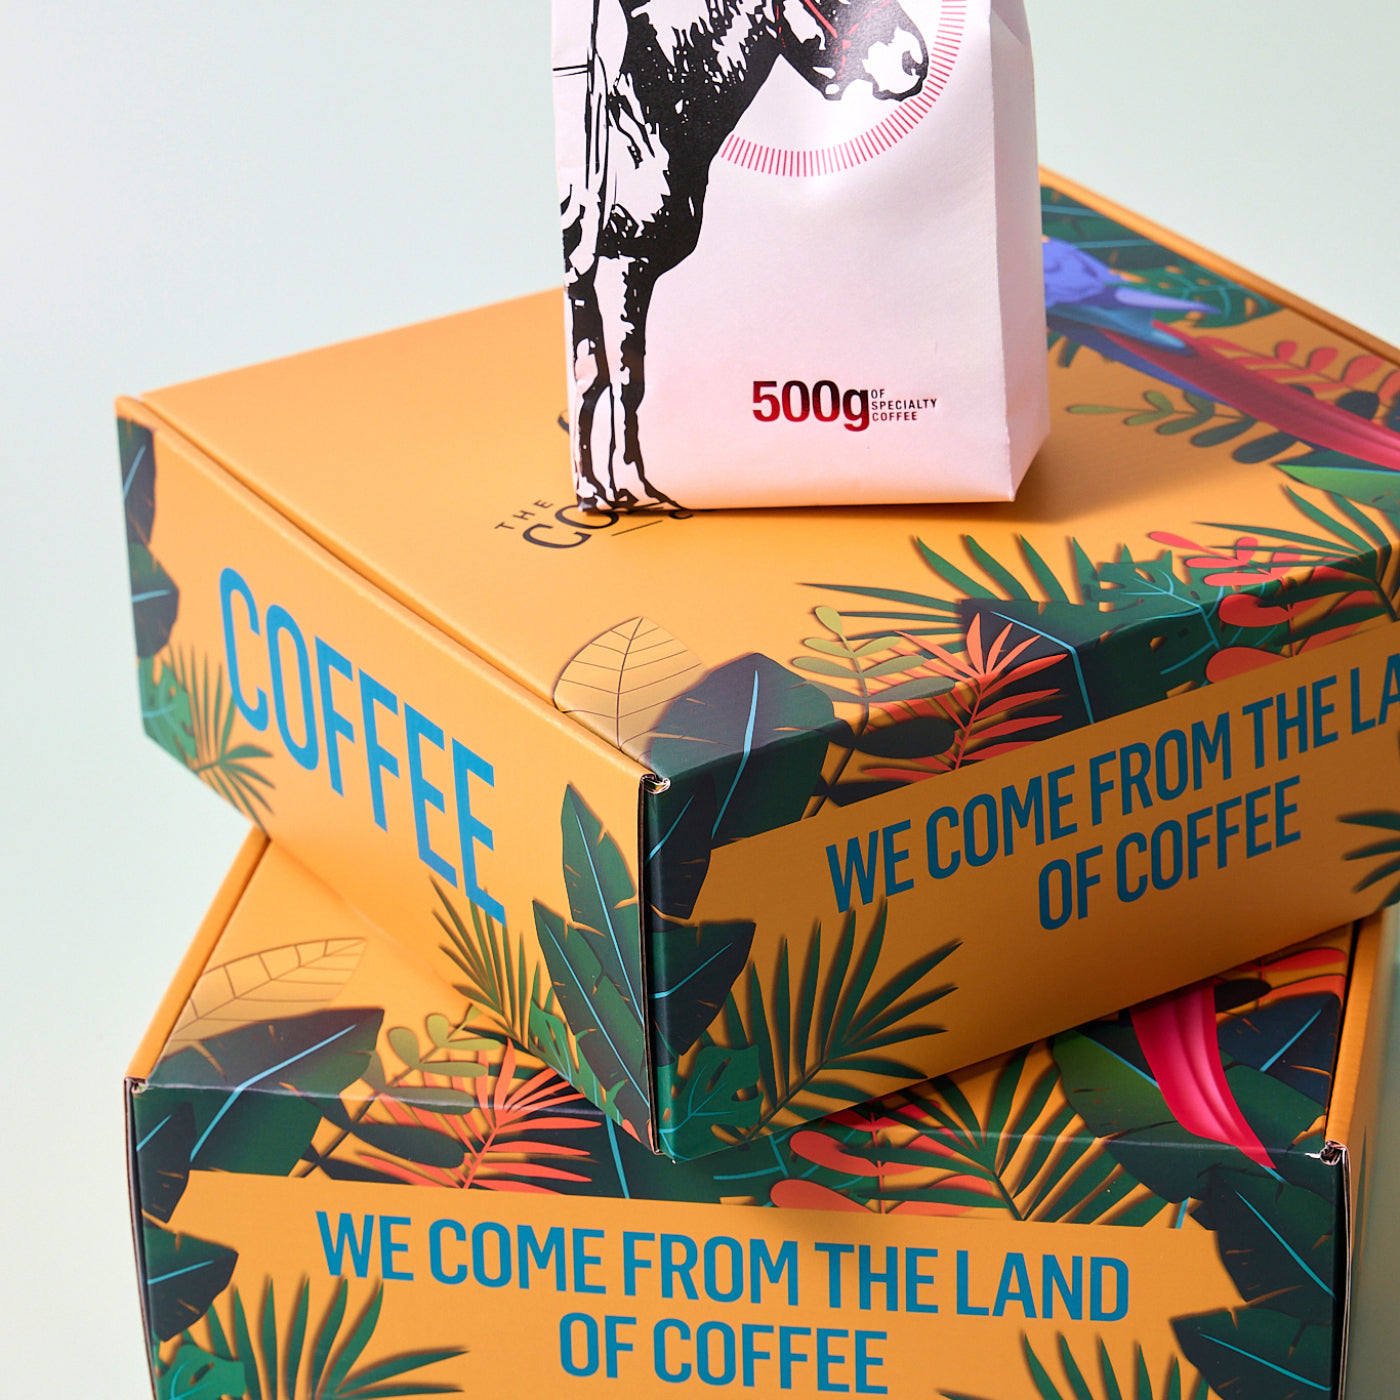
CMYK
Full colour printing built from four inks: cyan, magenta, yellow and black, layered to create every colour in your design. It's the standard for artwork with photography, gradients or more than a couple of colours.
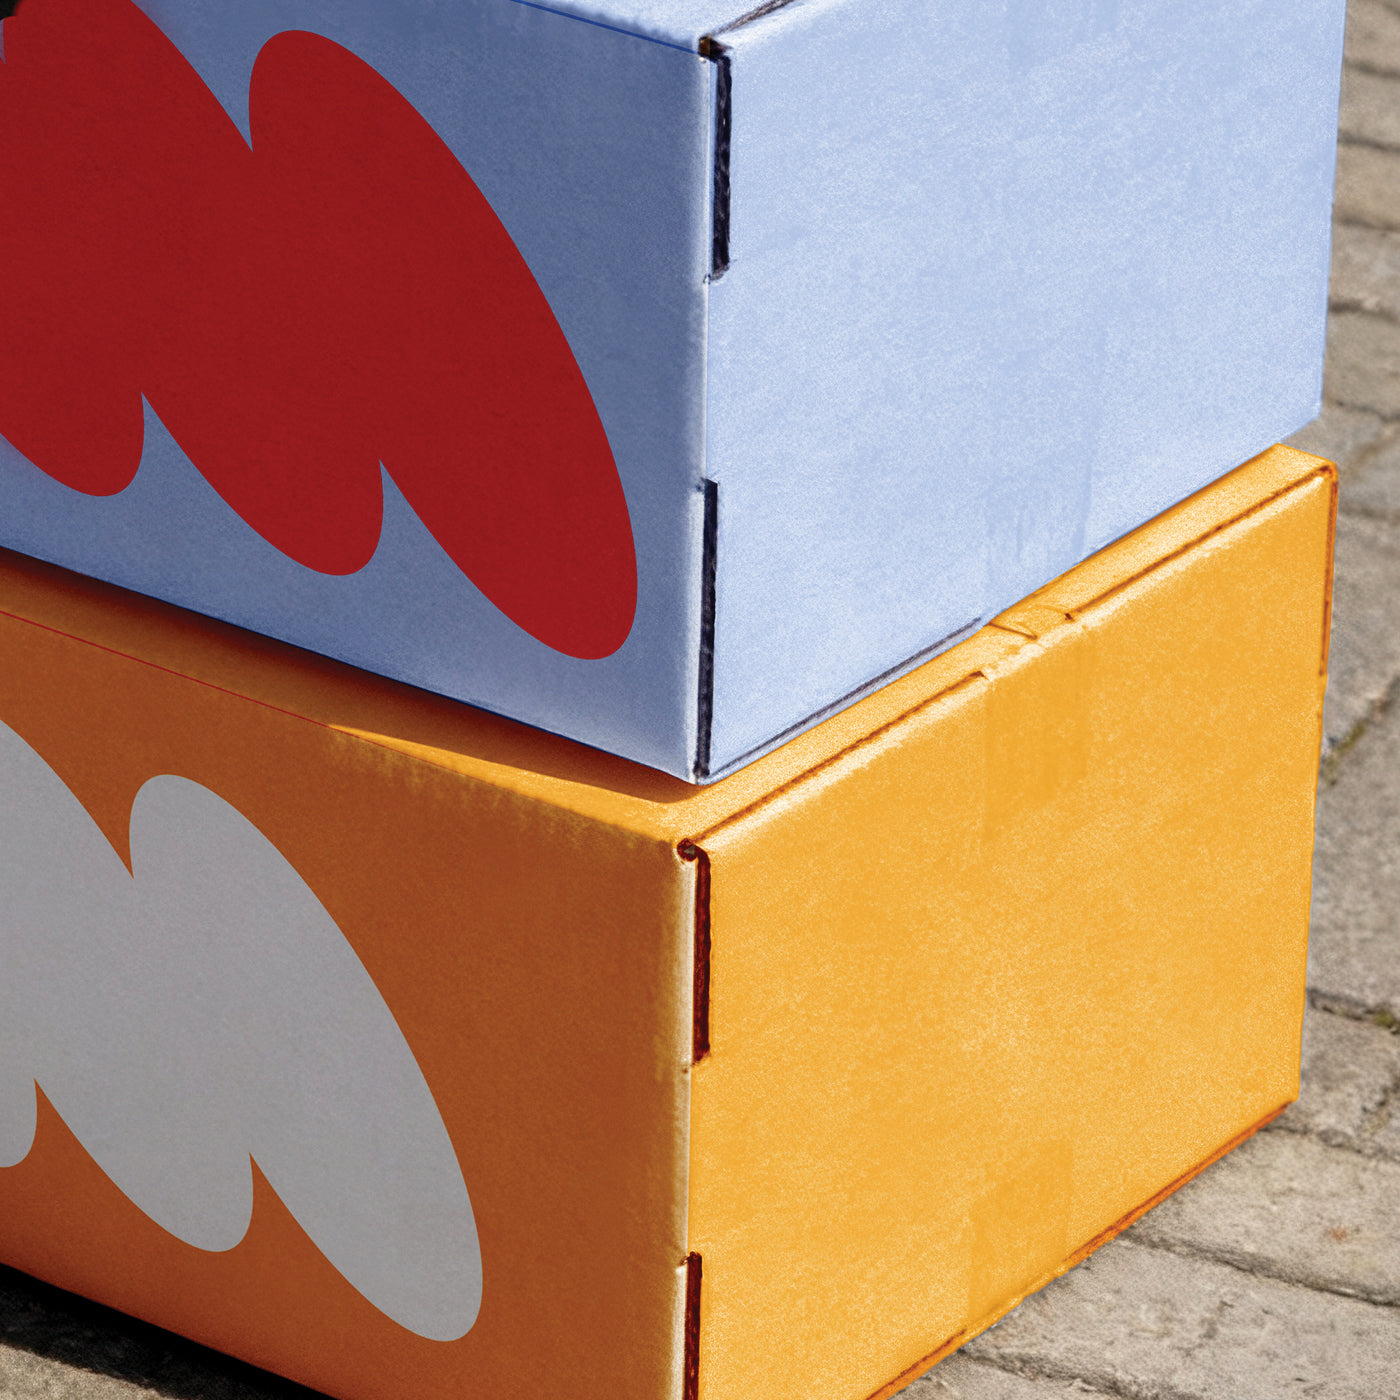
Pantone
Pre-mixed ink matched to an exact colour code, rather than built from CMYK layers. Worth choosing when your brand colour needs to look identical on every run, since Pantone doesn't shift the way CMYK can.
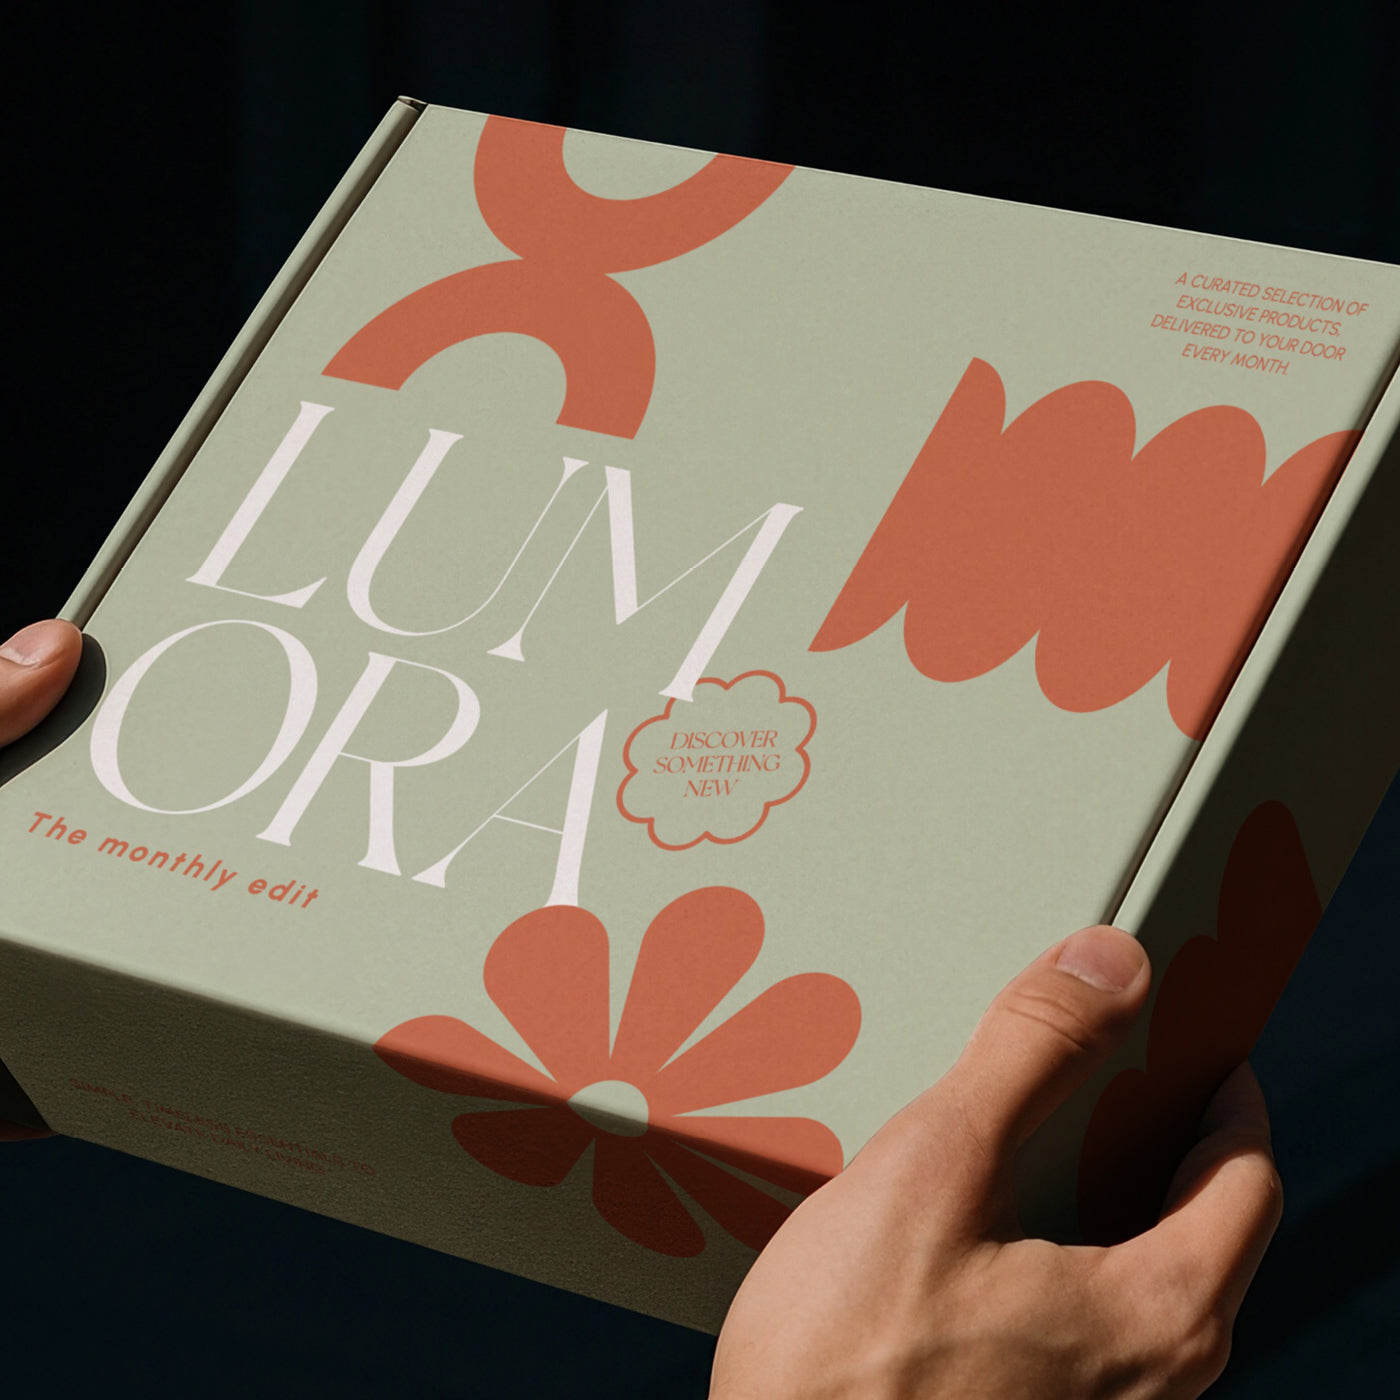
Pantone + CMYK
Combines process colour with one exact-match Pantone ink in the same print run. Useful when your design is full colour but one element, a logo or brand colour, needs to hit exactly right every time.
printing on kraft paper
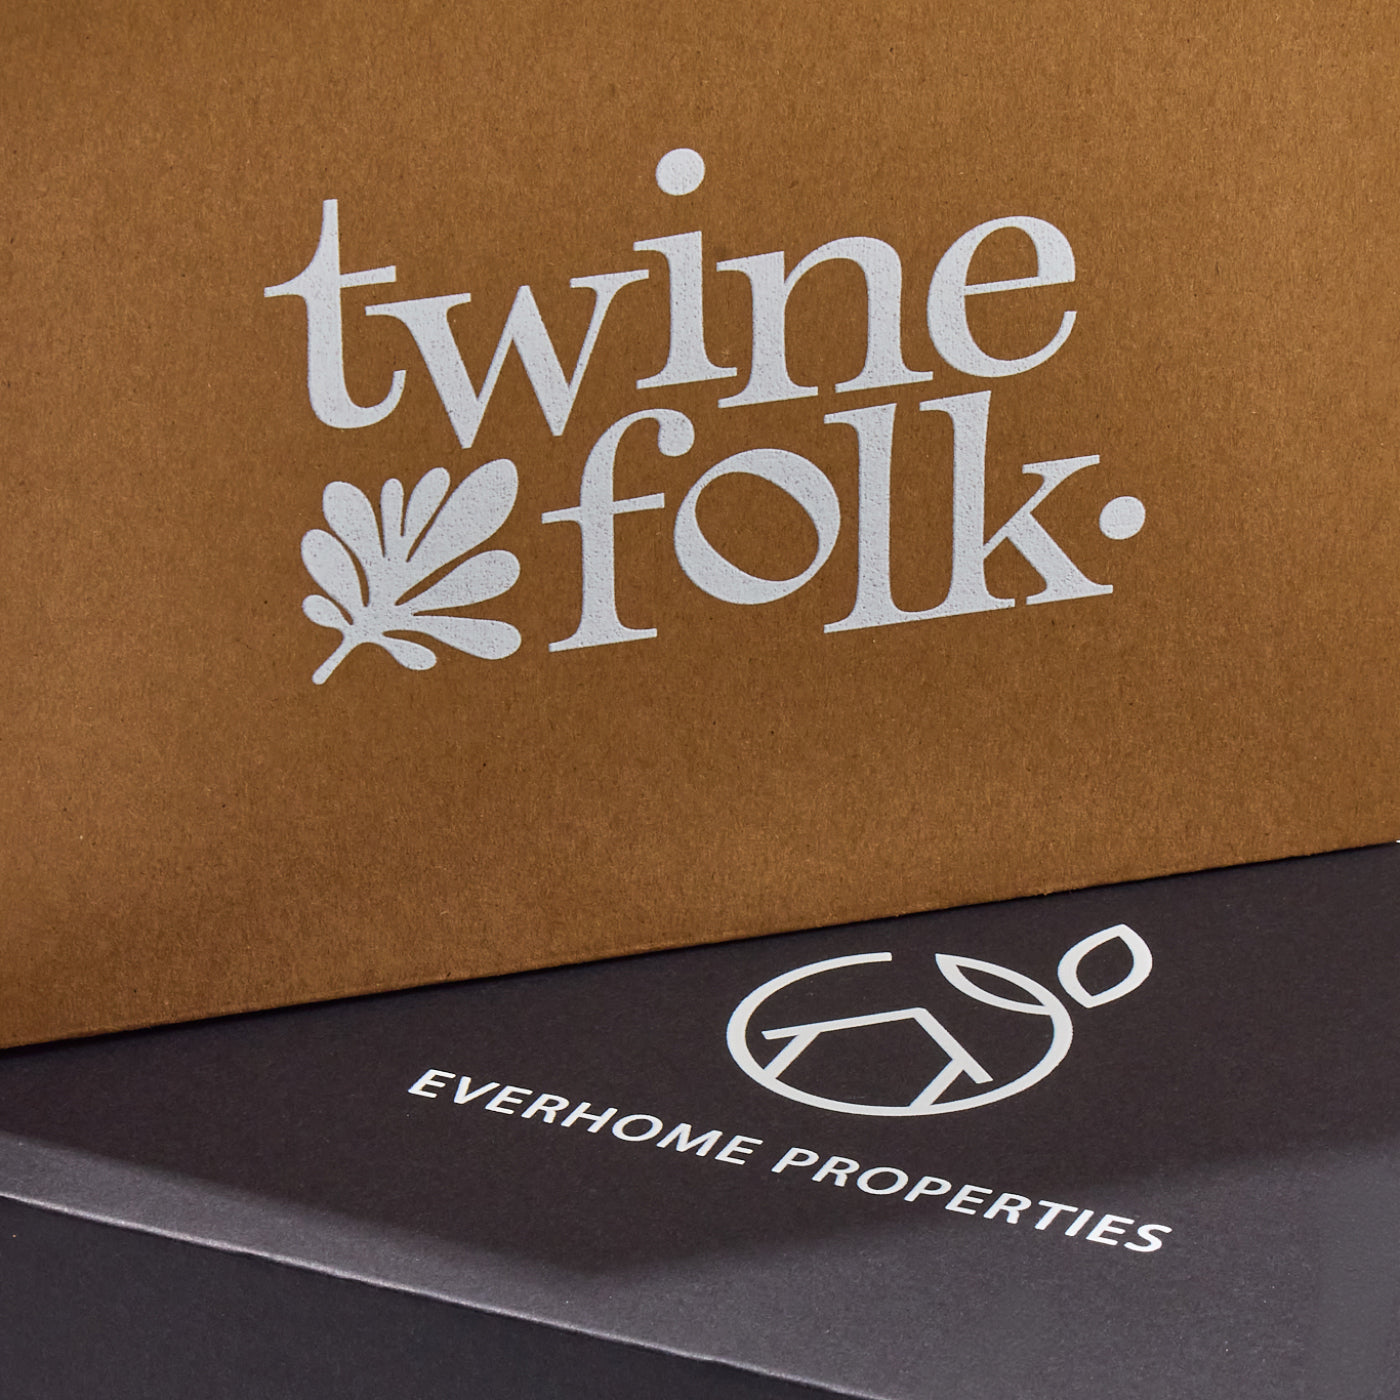
Screen Print White
Single colour screen printed in white. The most common choice for Natural Kraft or Black Kraft board.
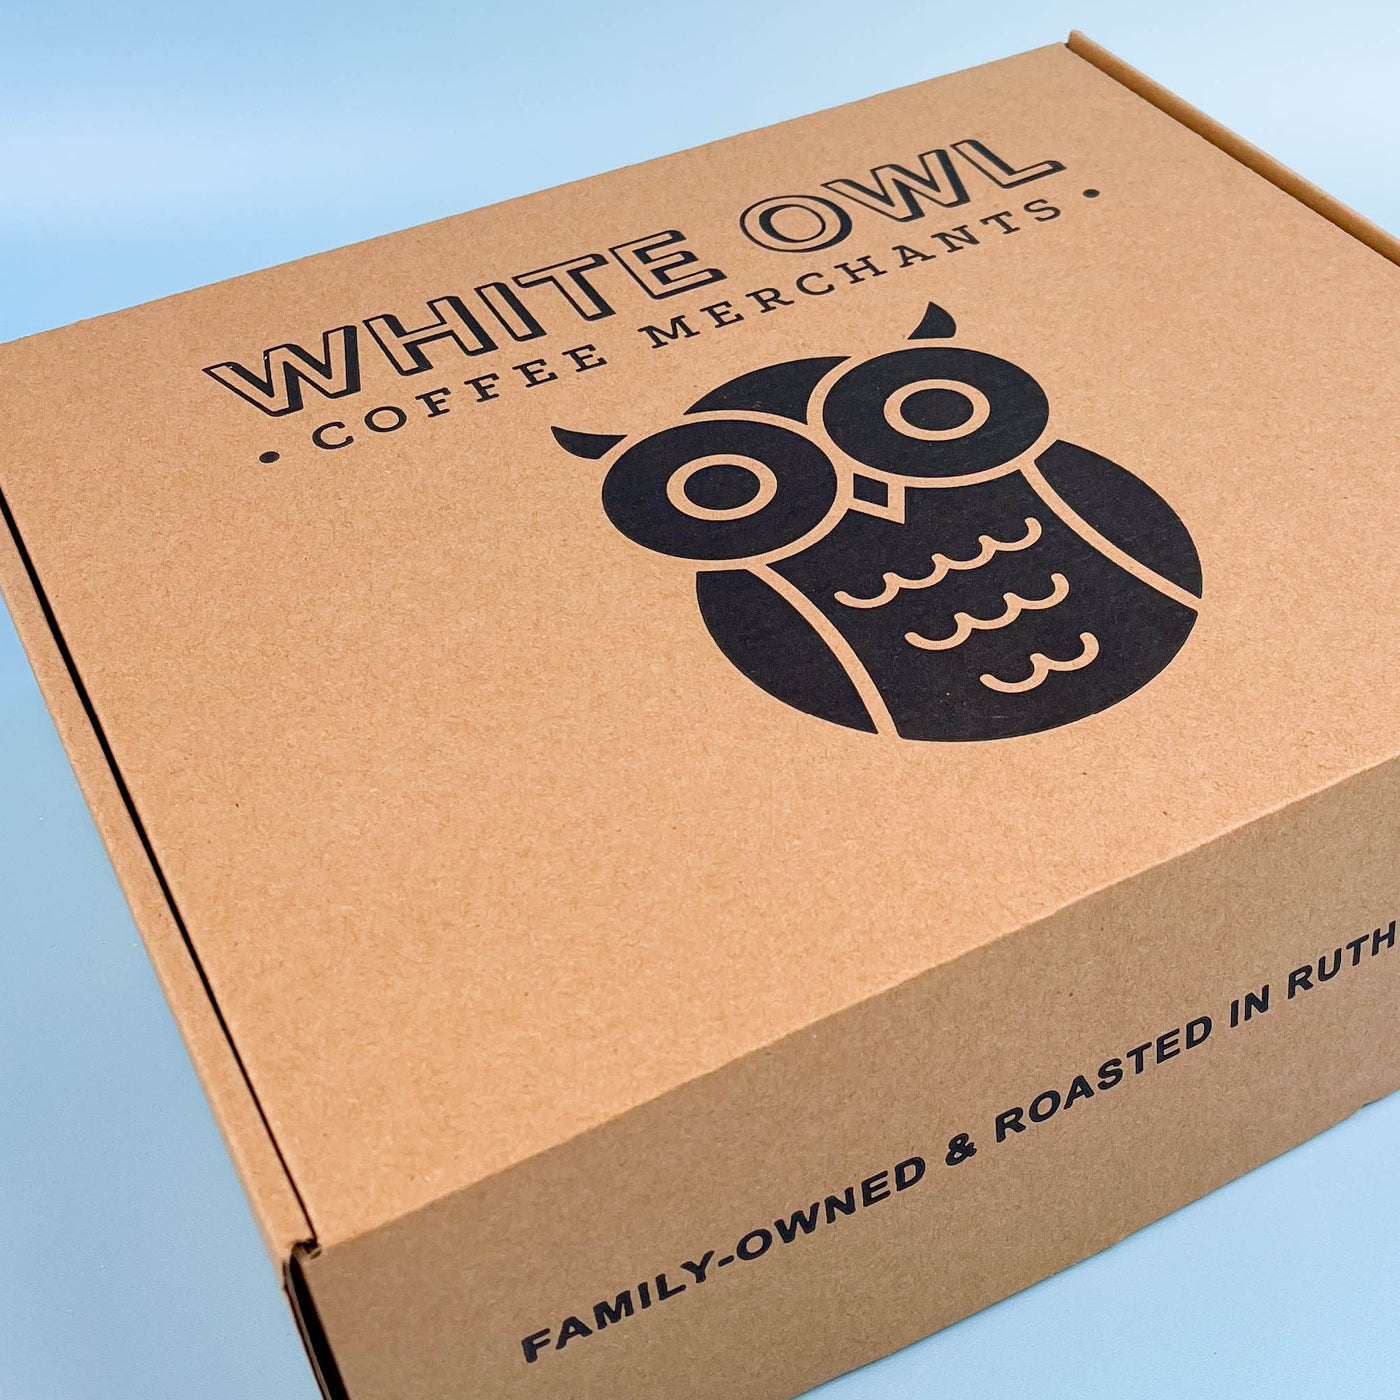
Screen Print Black
Single colour screen printed in black. Perfect for Natural Kraft board.
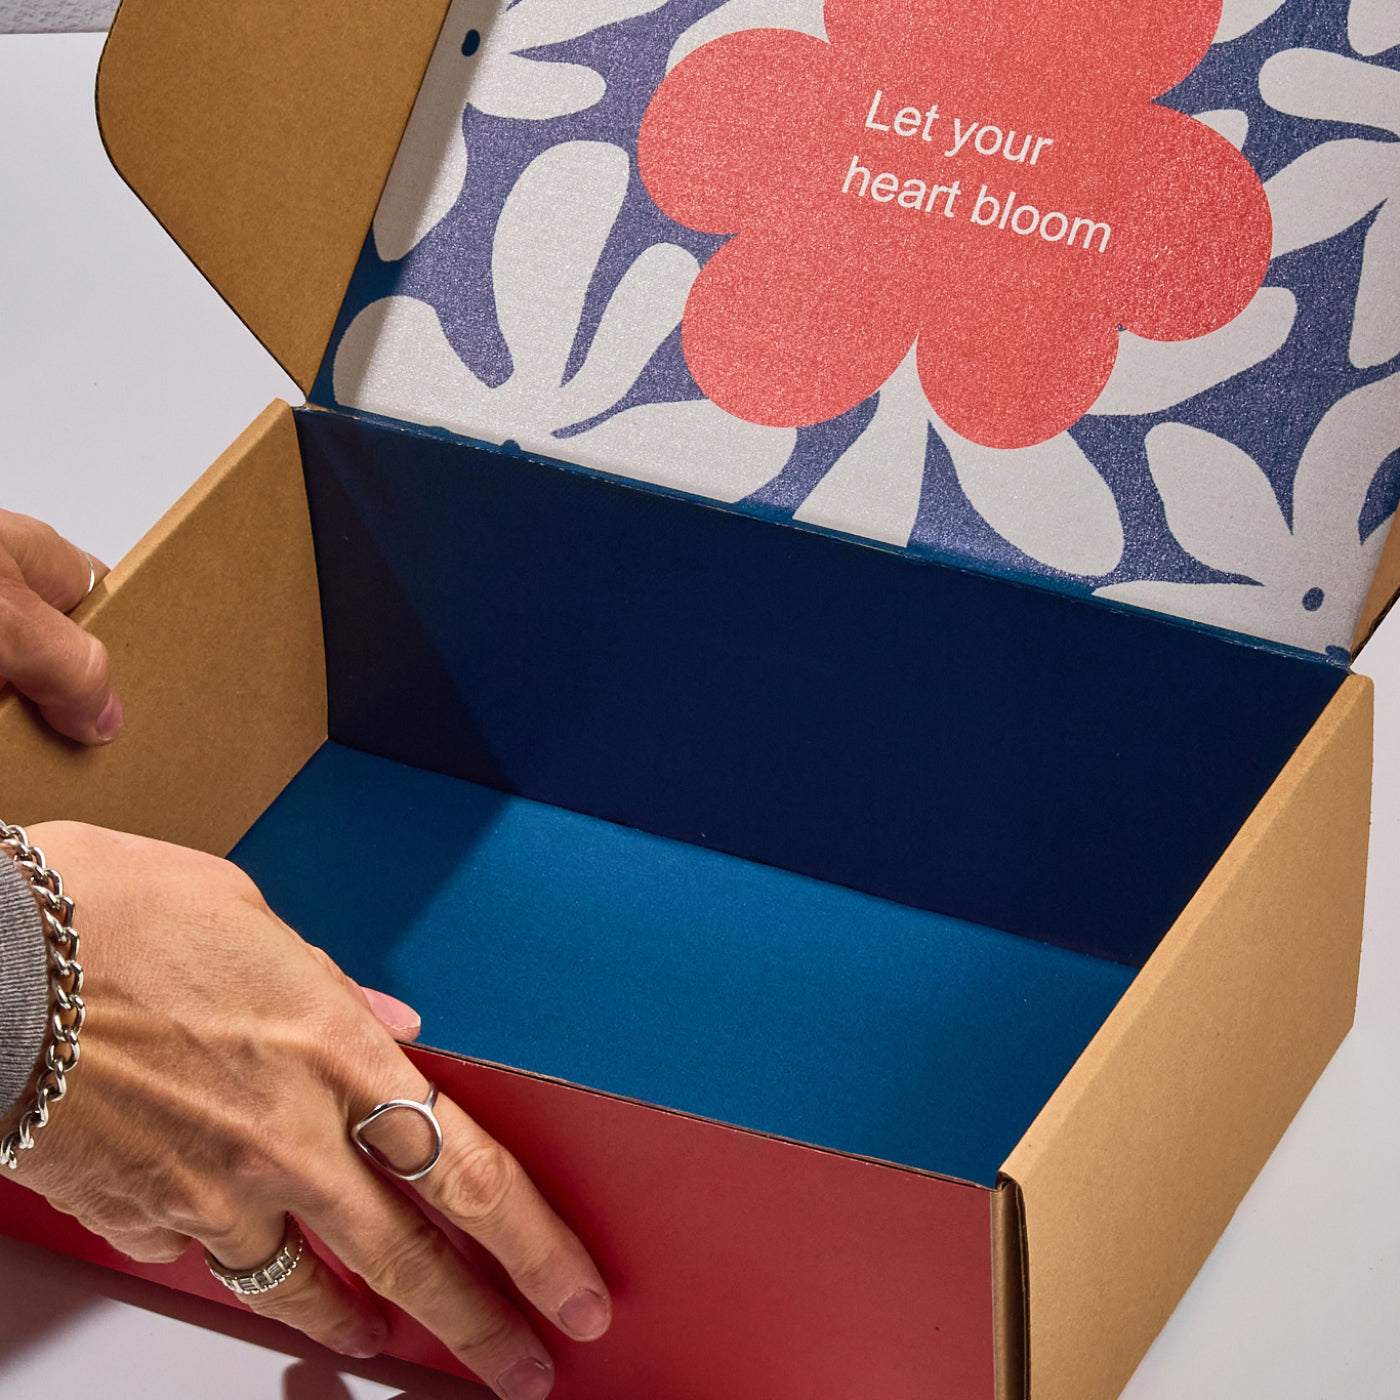
CMYK + White
Full-colour printing laid over a white base layer so colours stay bright and true on kraft, instead of sinking into the brown or black board. The option for full-colour artwork on kraft. Prefect for bright or pastel colours.
lamination / finish
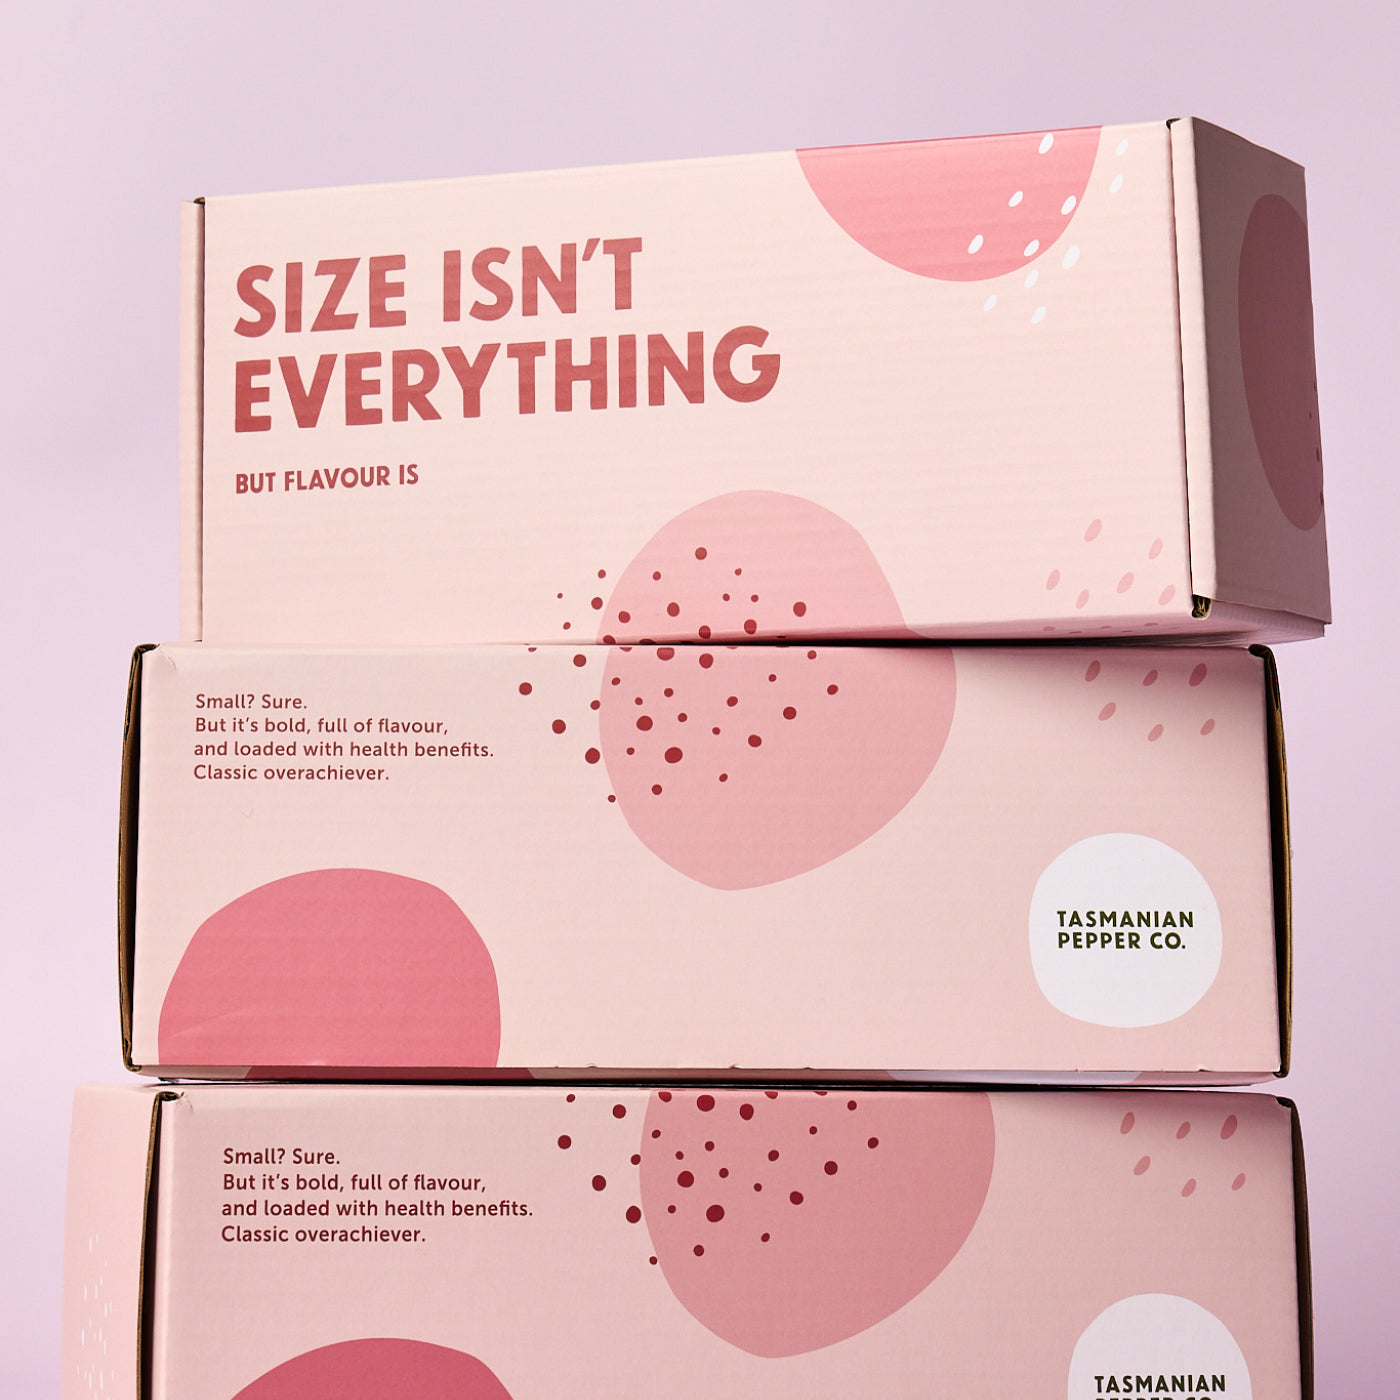
Matte
A flat, non-reflective coating that feels soft to the touch and looks premium. Our most popular finish. Available on White paper only.
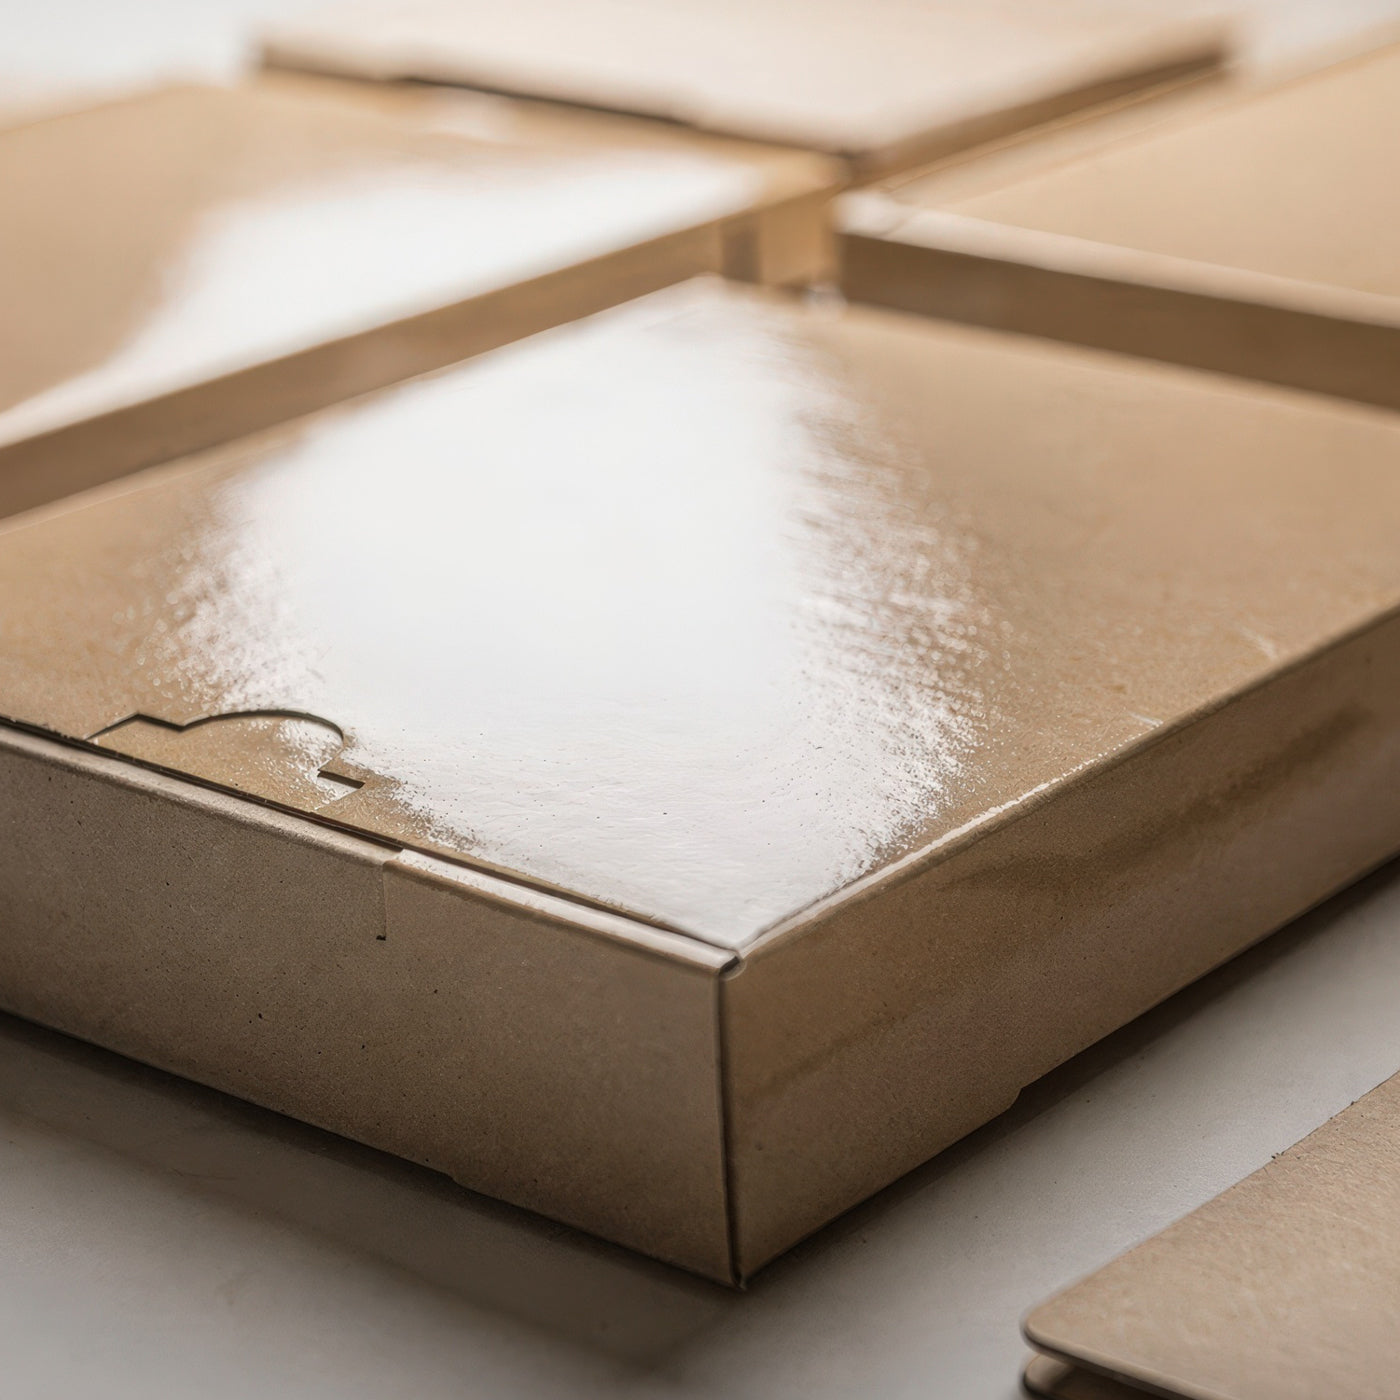
Gloss
A shine that makes colours pop. Great for high impact designs. Available on White paper only.
No lamination
Kraft boards are supplied uncoated with the natural surface being part of the look. White paper can also be left unlaminated for a raw, matte-paper feel.
finishing touches
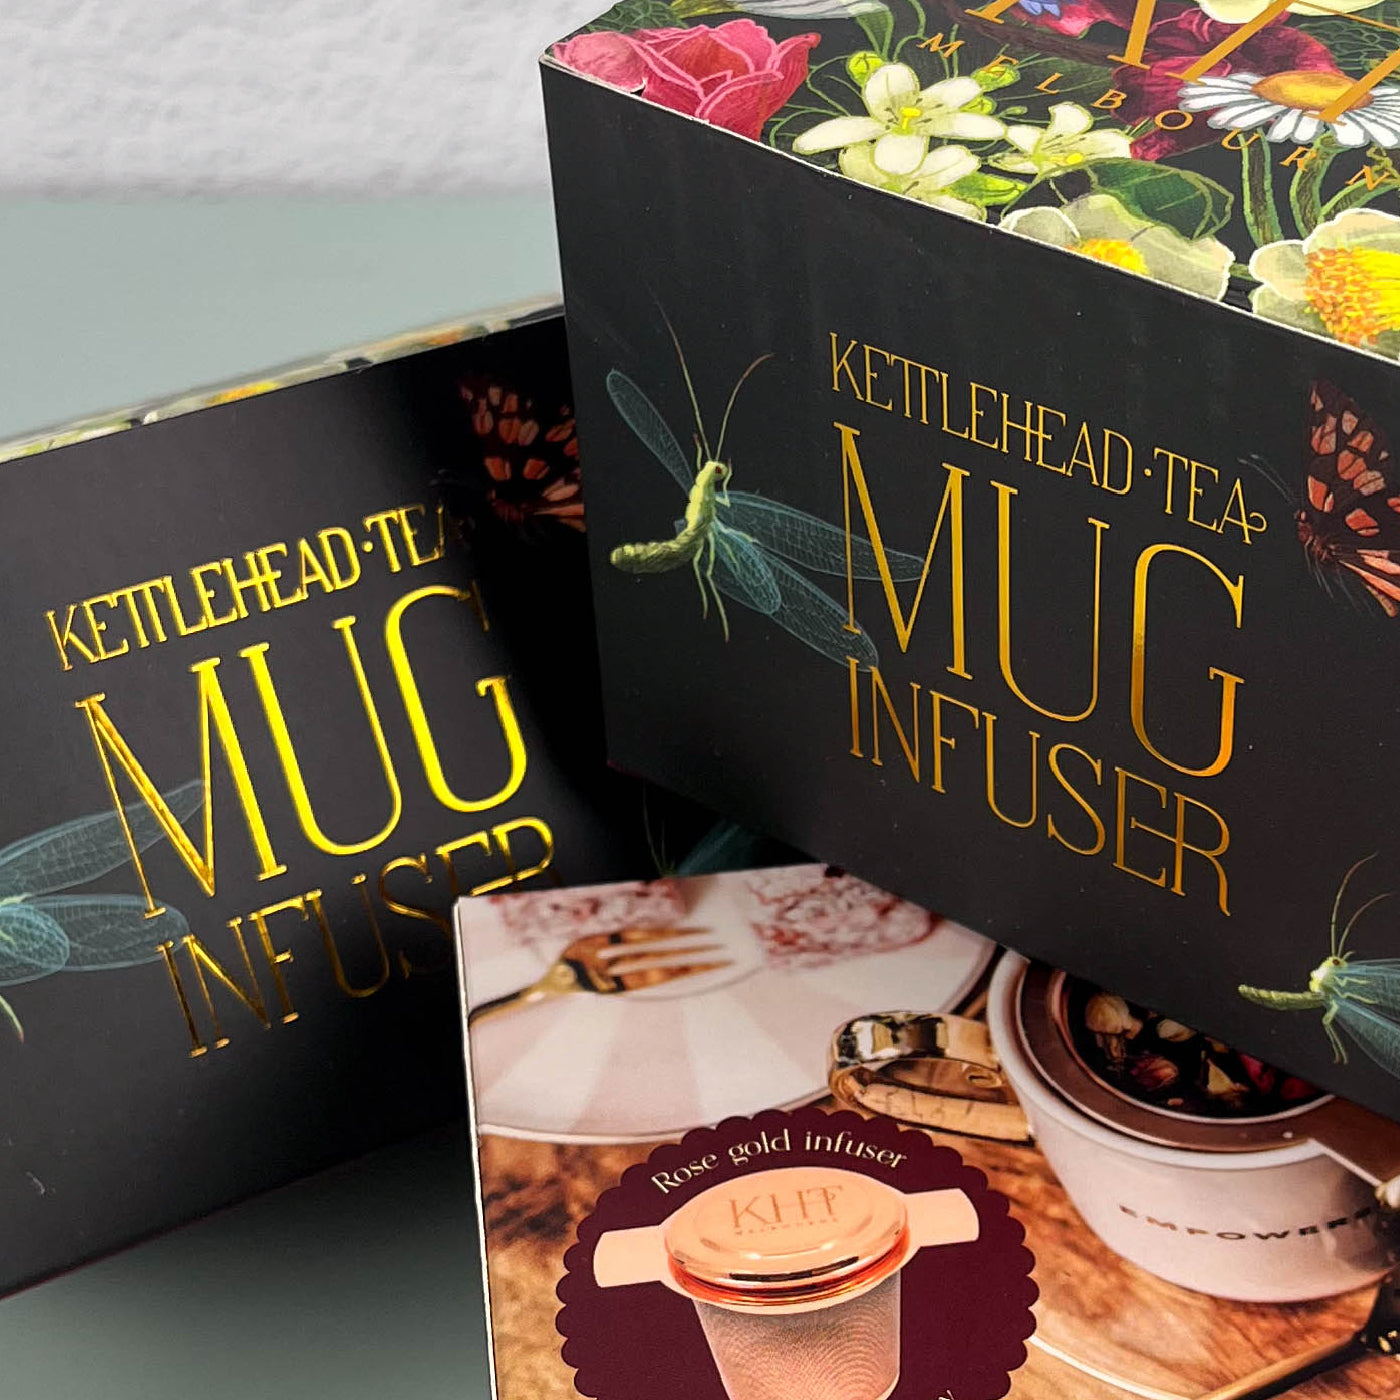
Foil accents
A metallic foil stamped onto specific parts of your design. Gold, Silver and Bronze are the standard options but tell us any other foil colour and we'll confirm it's achievable for your stock and run size.
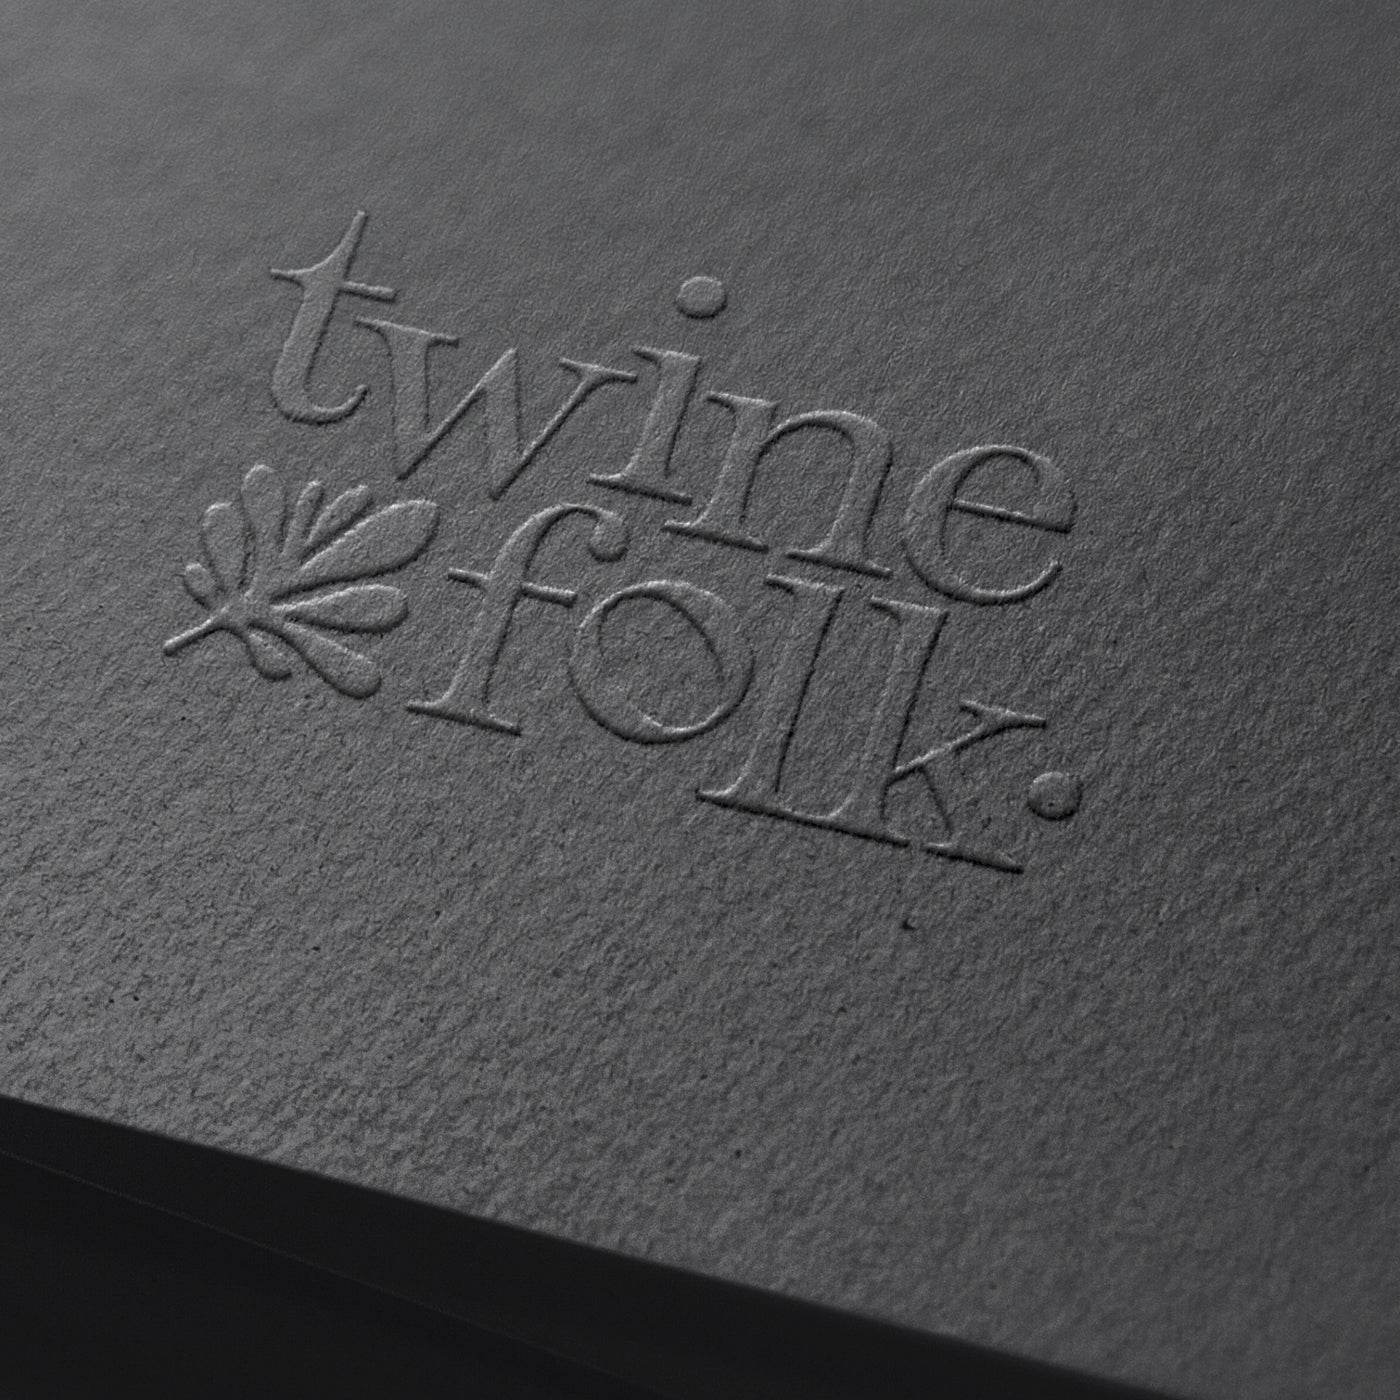
Embossing
A raised detail pressed into the board from behind, no ink required. Gives a logo or wordmark a subtle lift off the surface, so it catches the light.
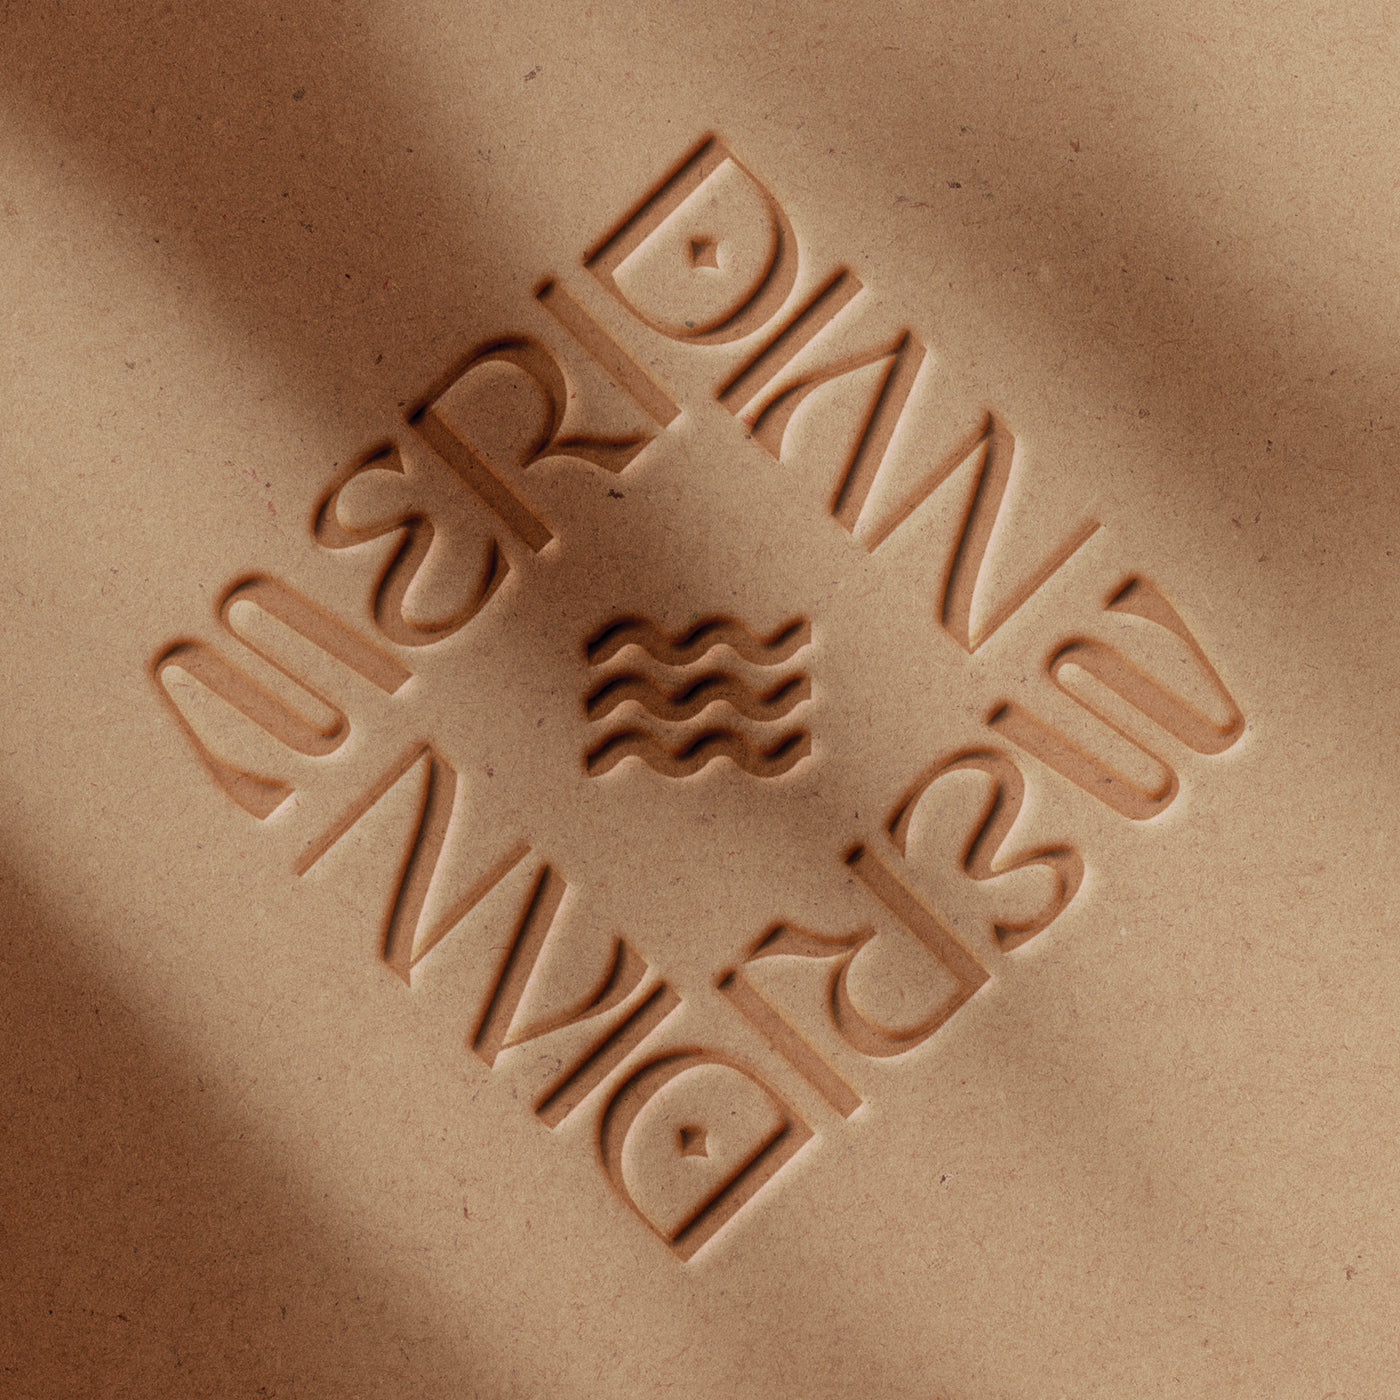
Debossing
A recessed detail pressed into the board, no ink required. Sits into the surface rather than off it, a quieter way to add texture without changing the box's profile.
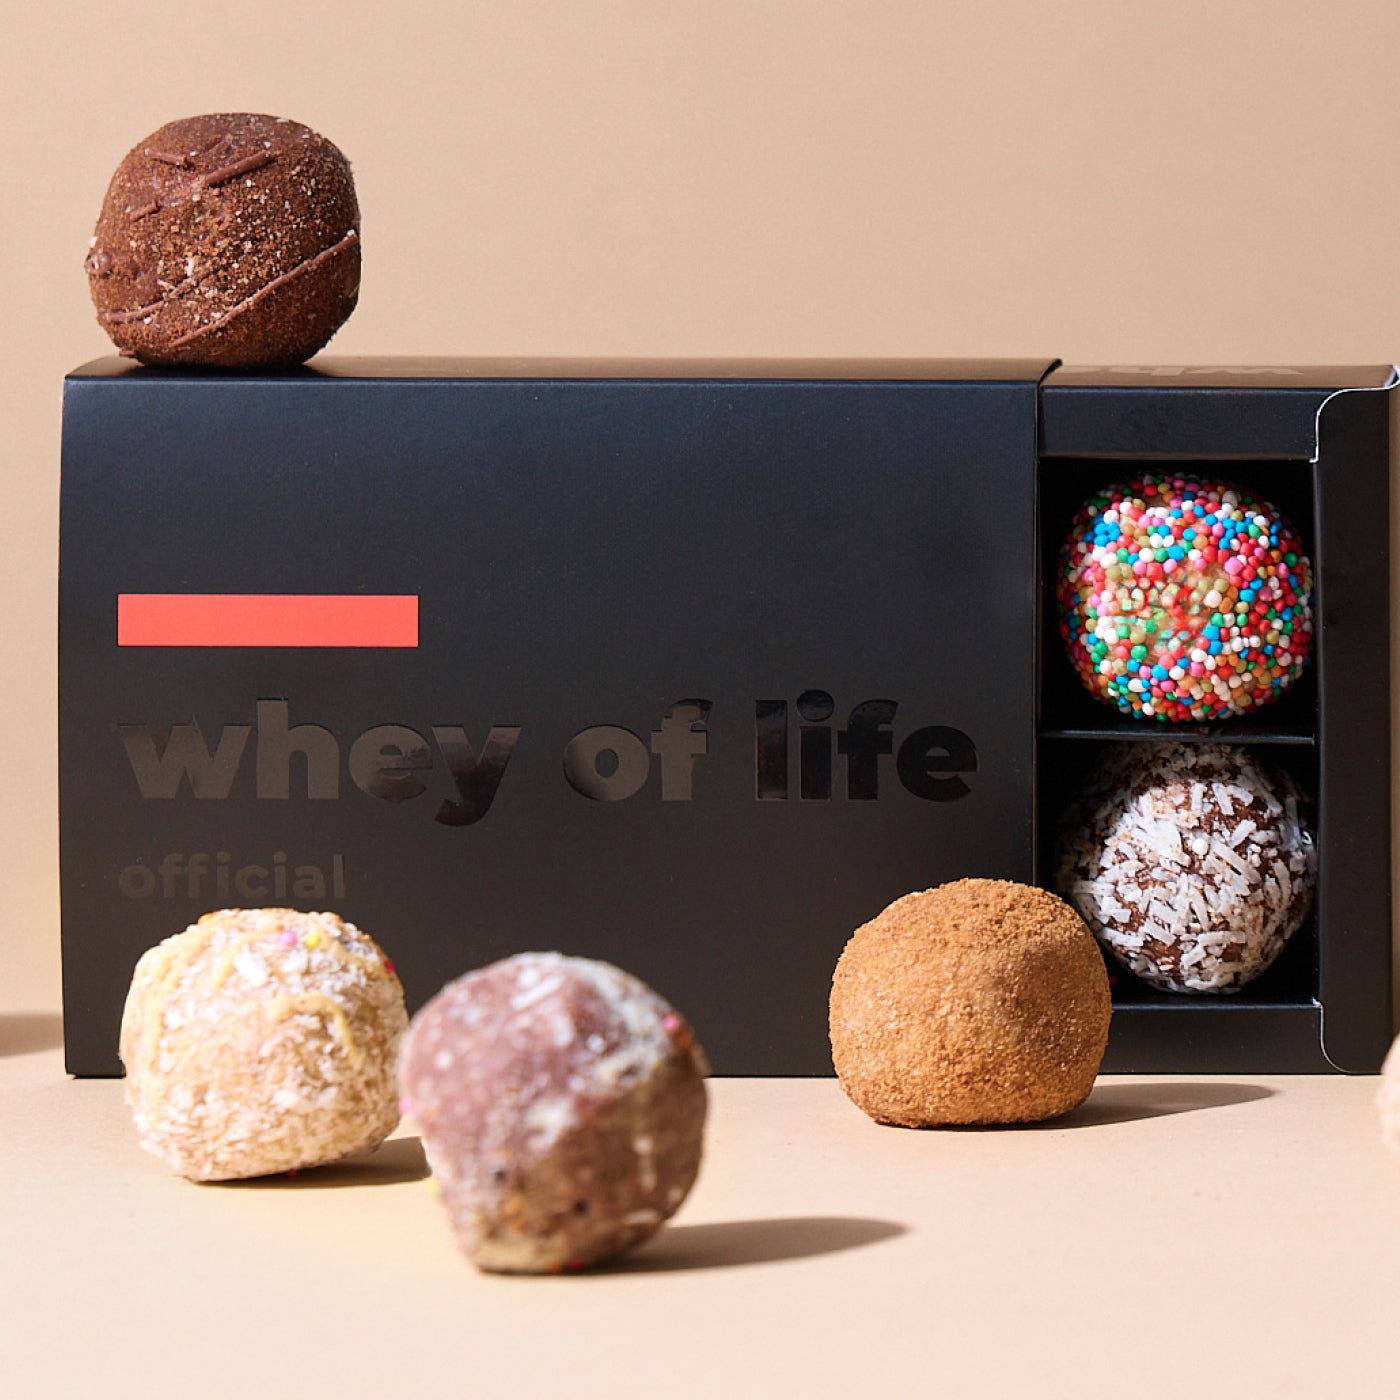
Spot Gloss
A gloss varnish applied to specific parts of your design, while the rest of the board stays matte or uncoated. A subtle way to draw the eye to a logo or detail.
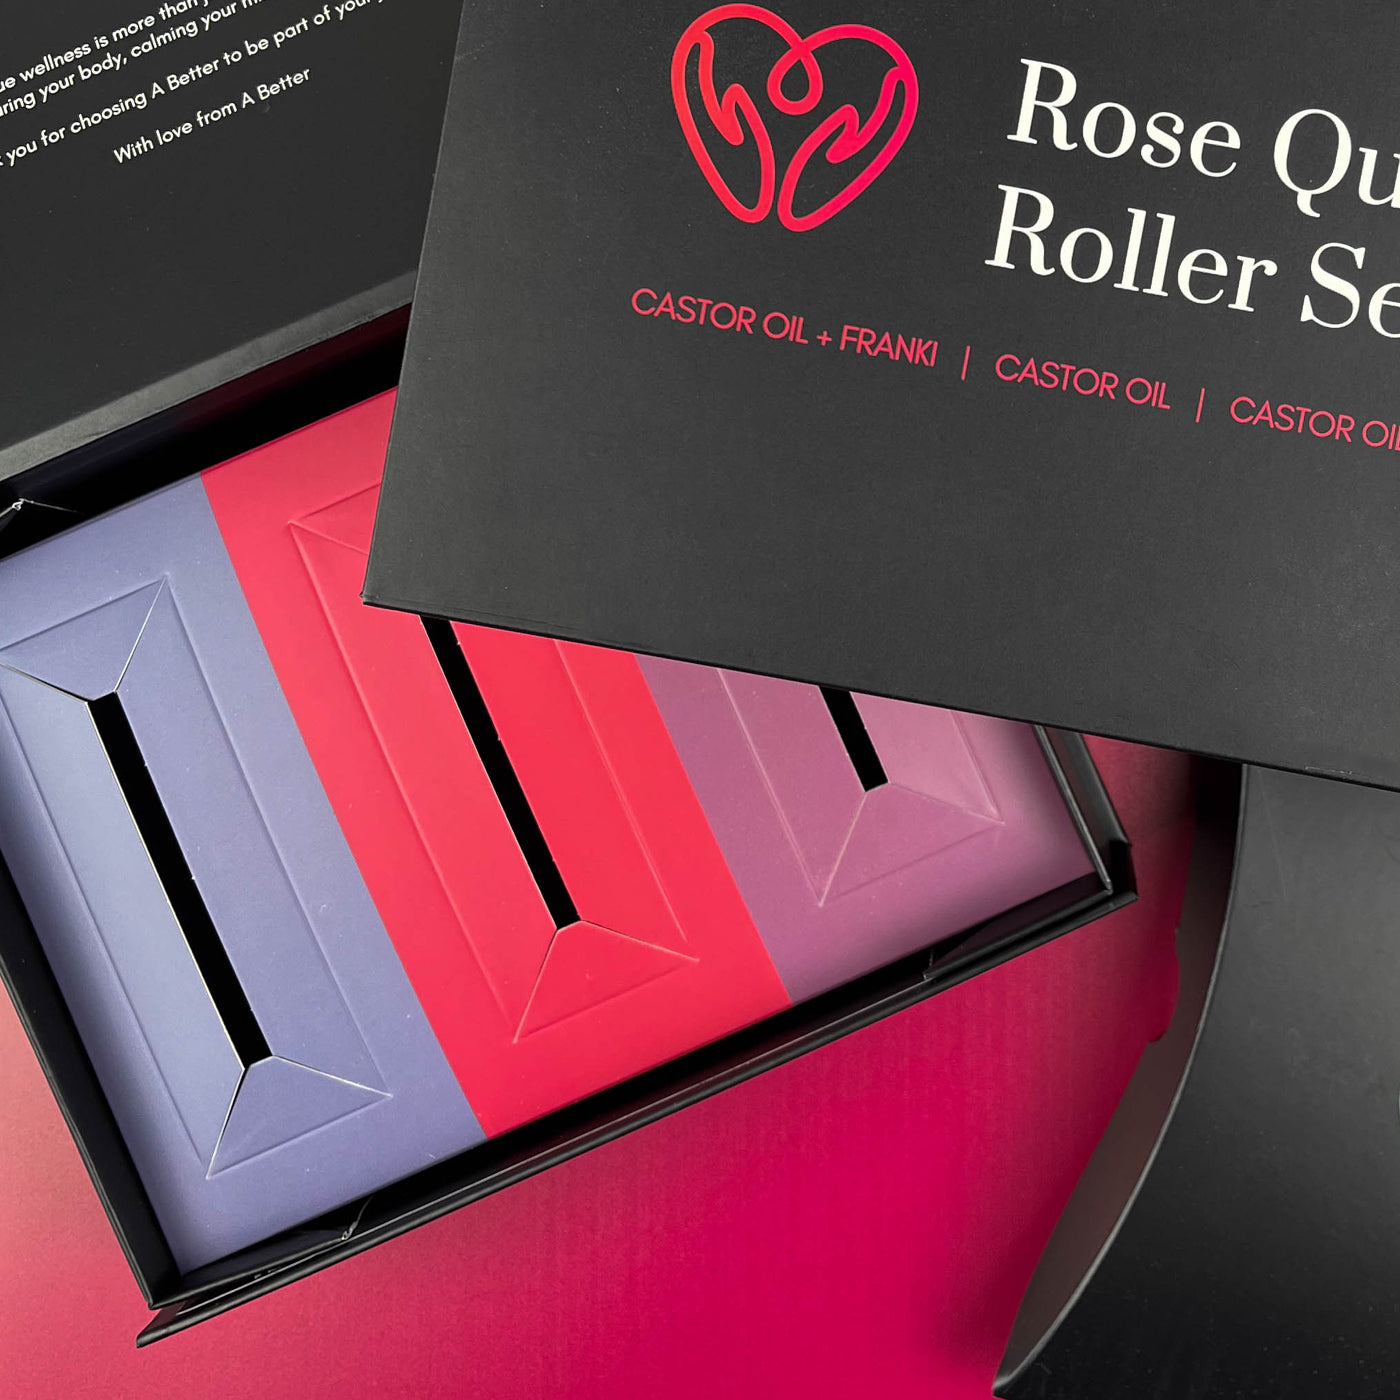
Cardboard insert
A rigid board insert that holds your product in a fixed position, ideal for multi-item boxes or anything that needs to stay upright and protected in transit.
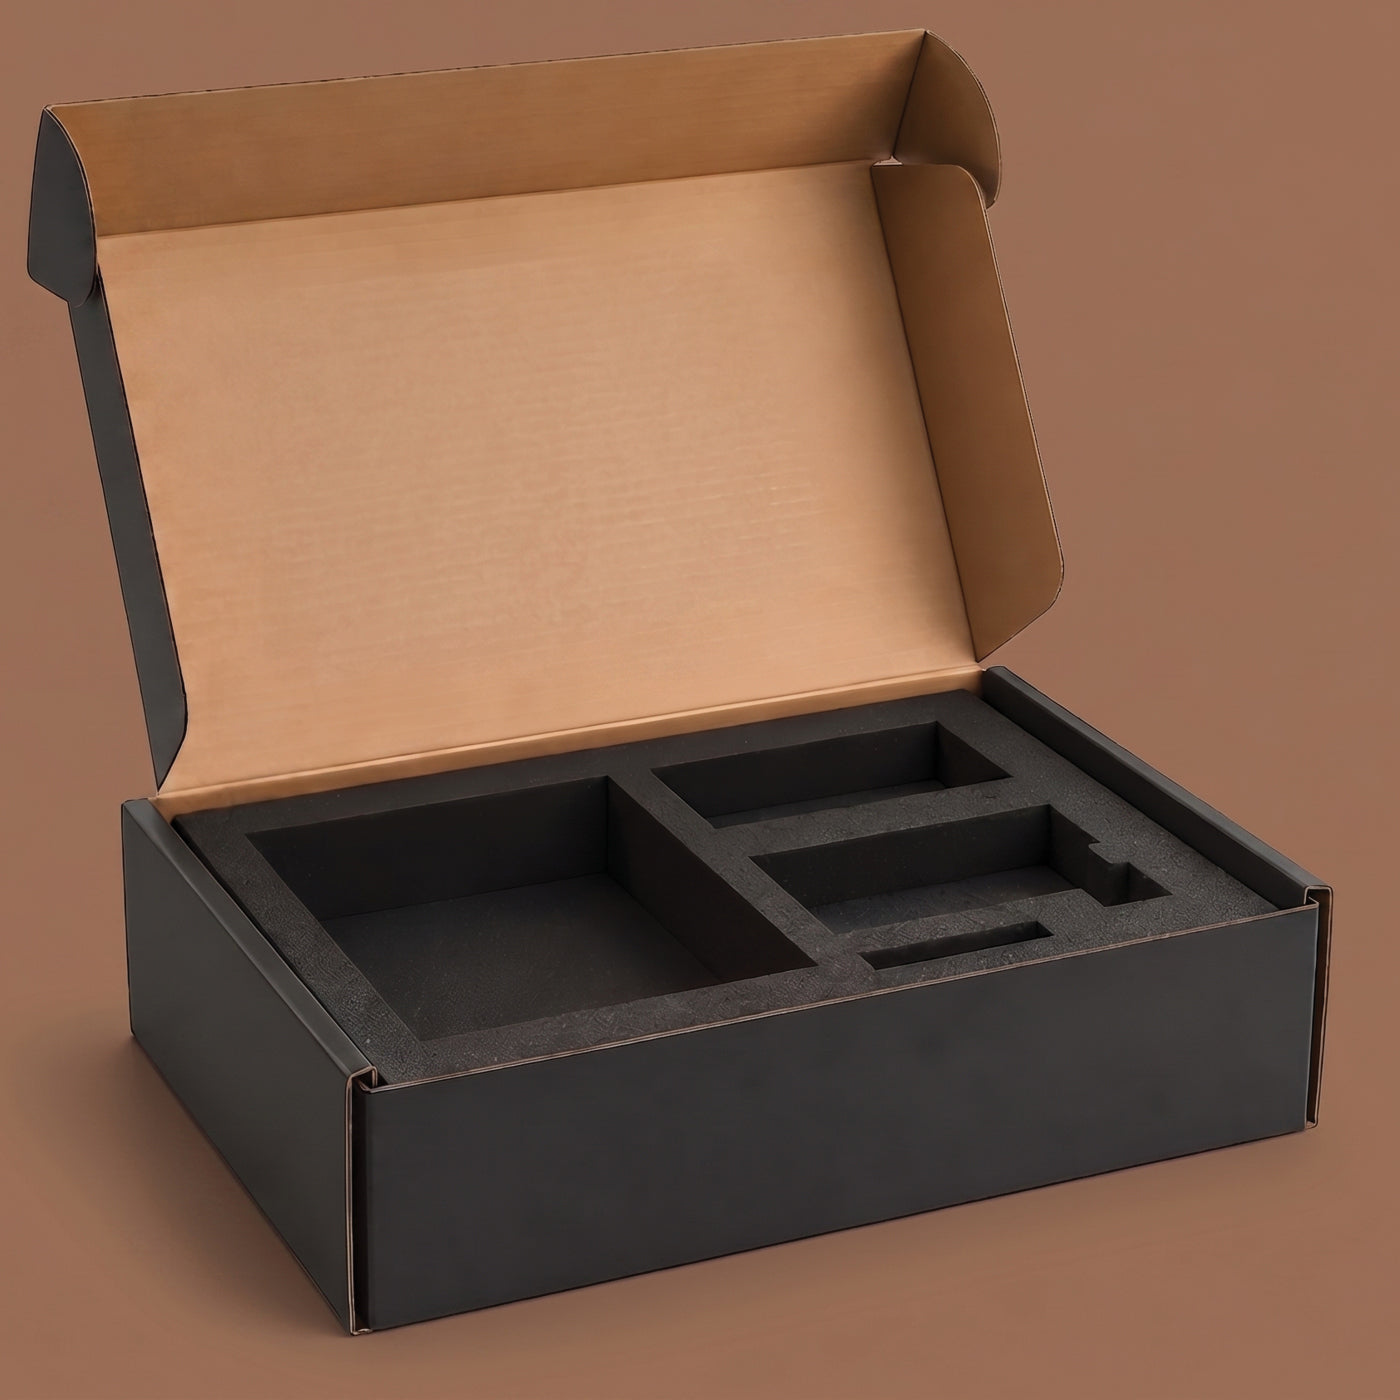
Paper insert
A lighter paper liner that cushions and presents the product inside the box. A simple, cost-effective way to lift your unboxing.
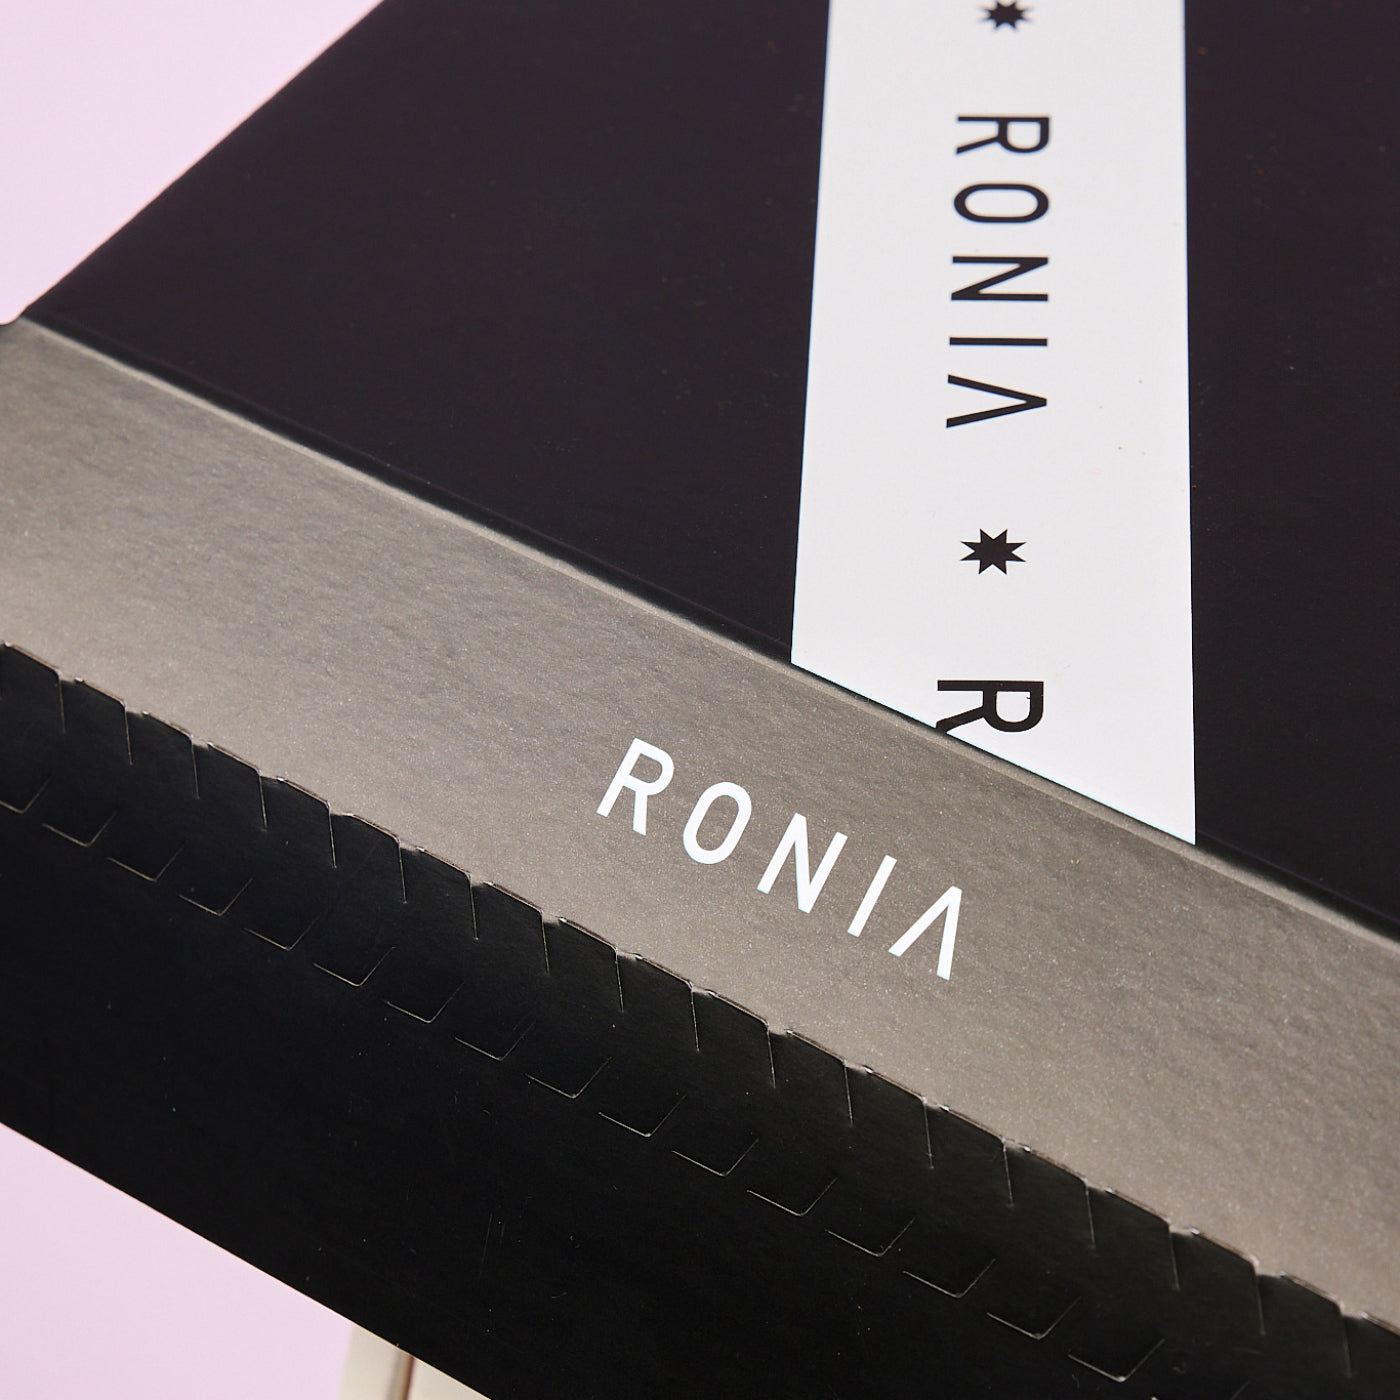
Tear strip
An easy-open pull tab built into the box, so it opens cleanly without a knife or scissors — no cutting tools needed at unboxing.
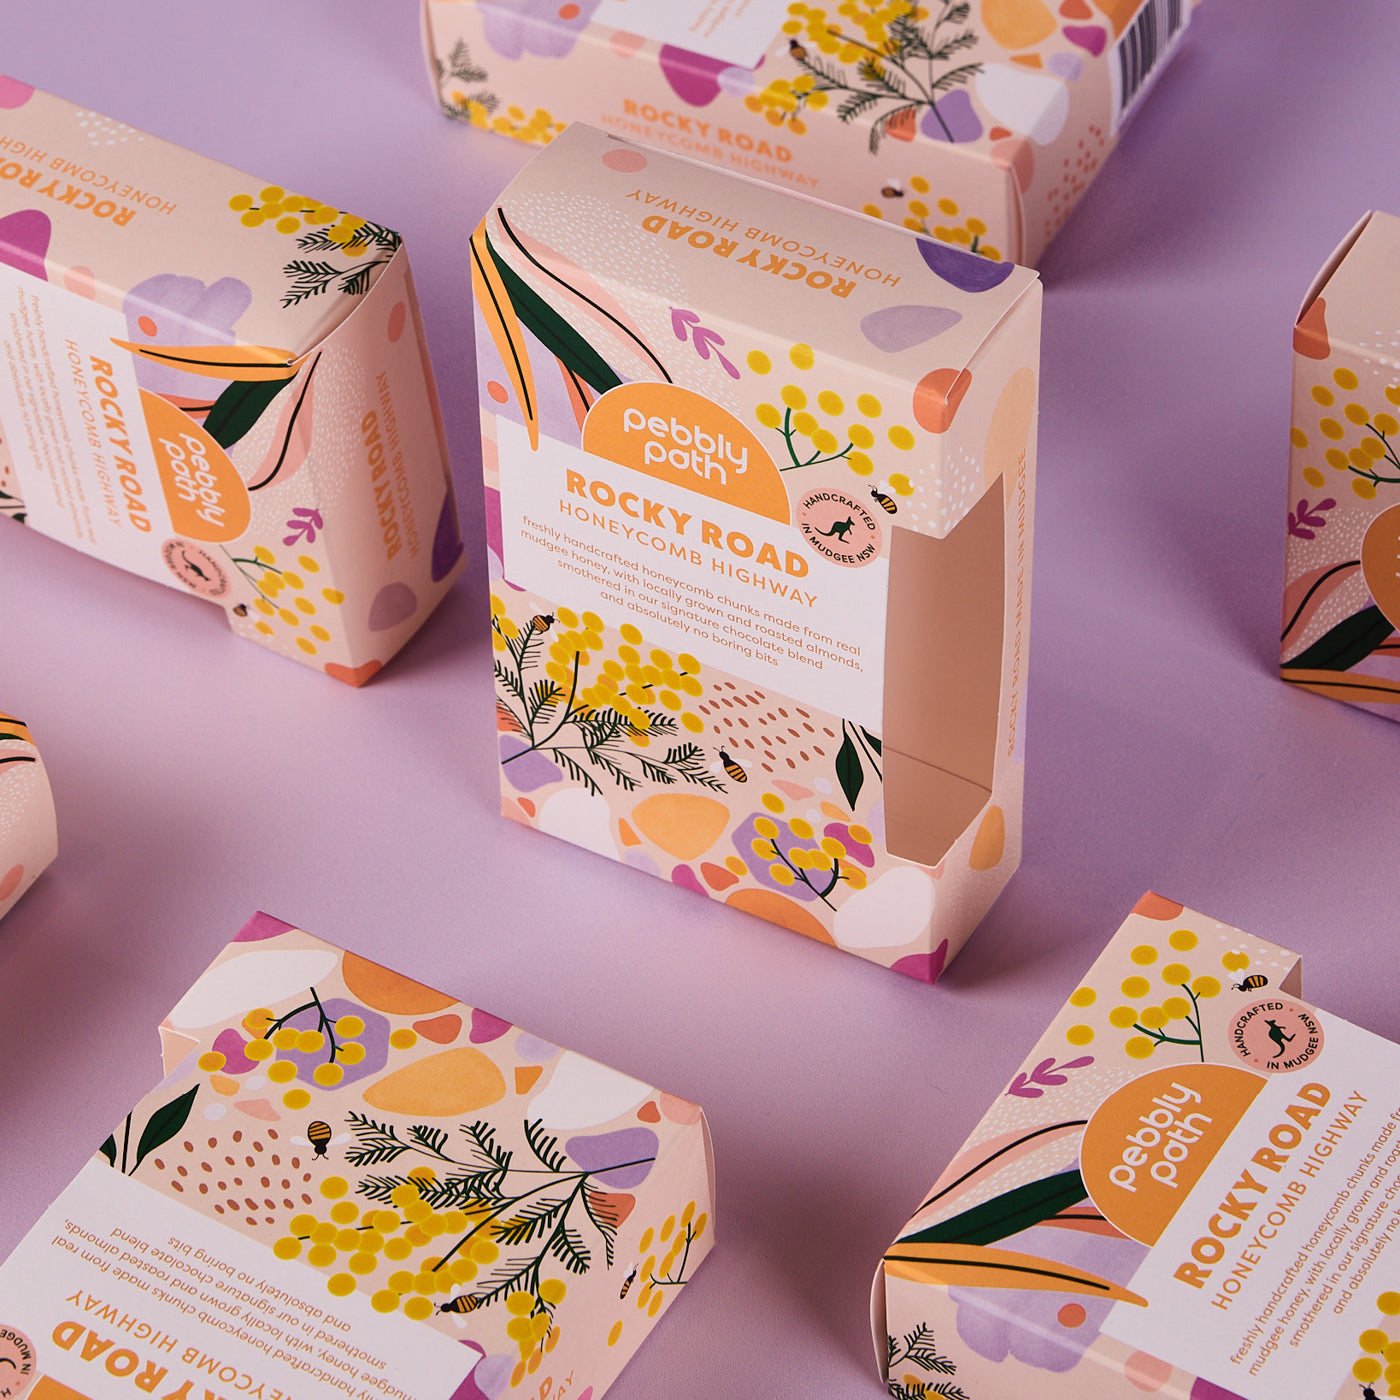
Diecut window
A cut-out section of the box that shows the product inside. Open cut-out leaves the cut edge exposed, good for pre-wrapped products.